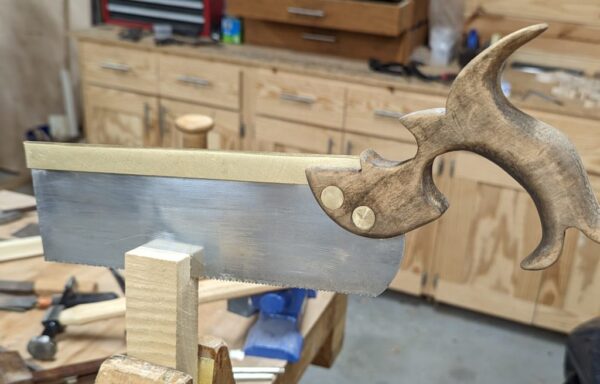
by Chris C (ncwoodworker.net member)
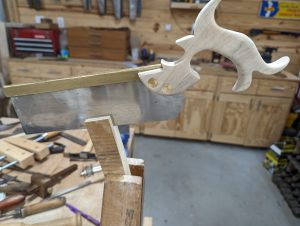
Start of milling
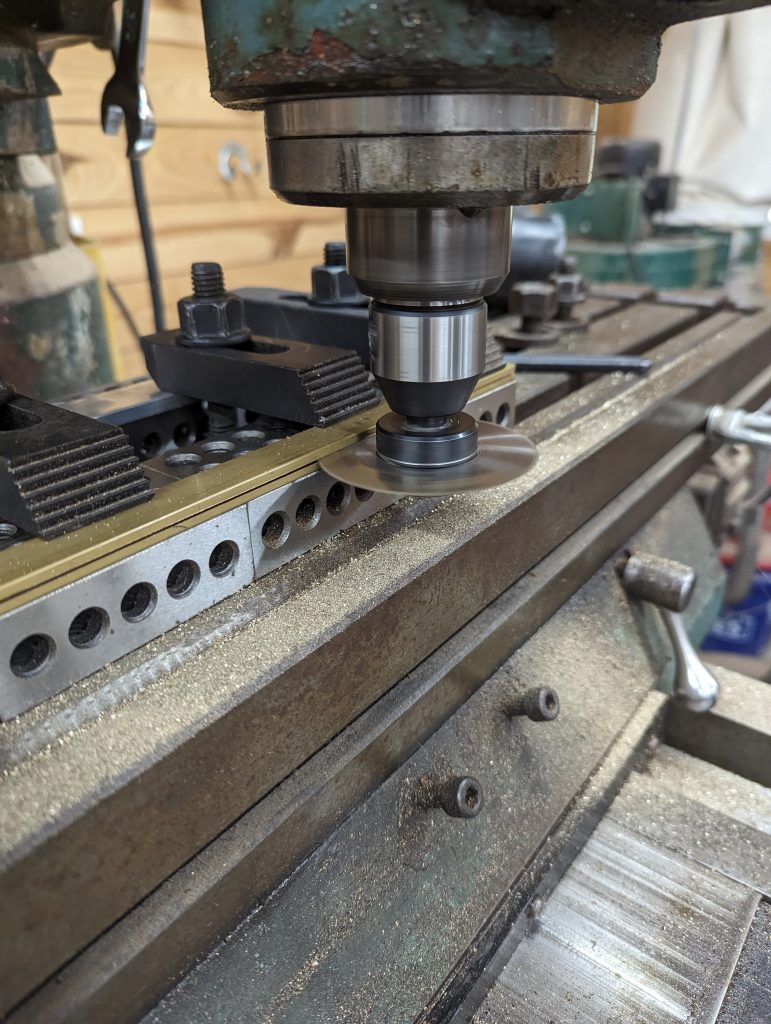
I spent an hour or so milling a few backs for the first small run of saws. I’m using .020 spring steel for the plate and punching 13 ppi teeth with the Foley retoother. They will be filed rip.
I milled a .023 slot in these backs. I’ll close them in the press…. like a traditional folded back saw. Most of the prototypes have been made with .020 slots that matched the plate. But I think that has raised more problems than it has solved. I’ll find out soon enough…
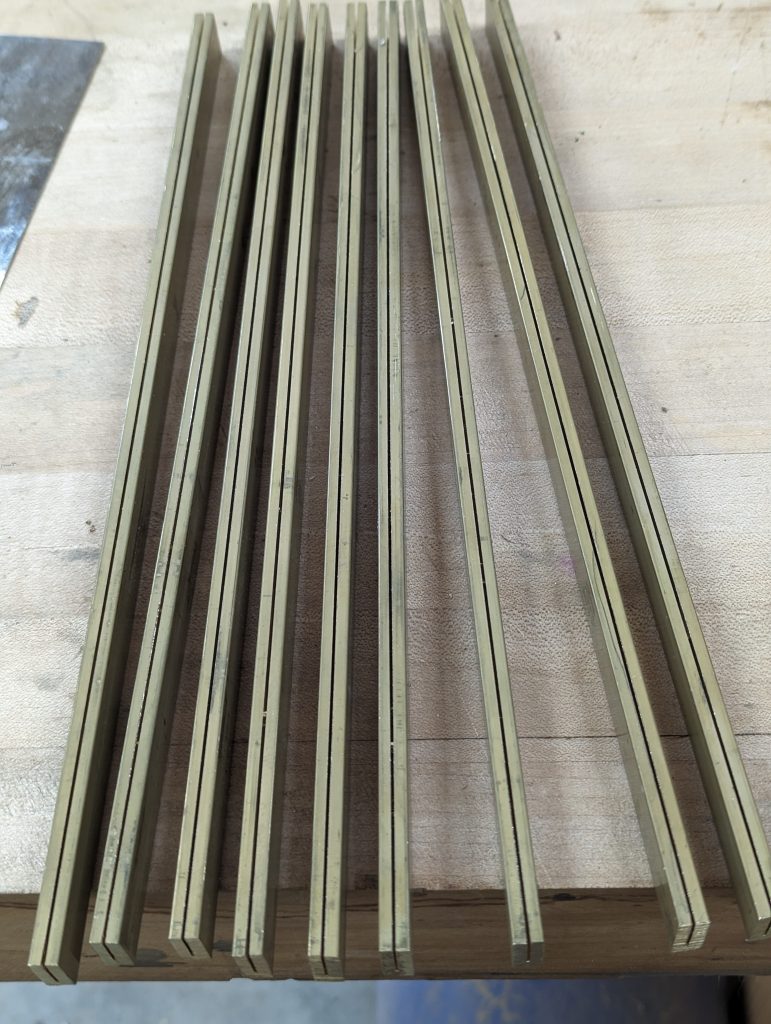
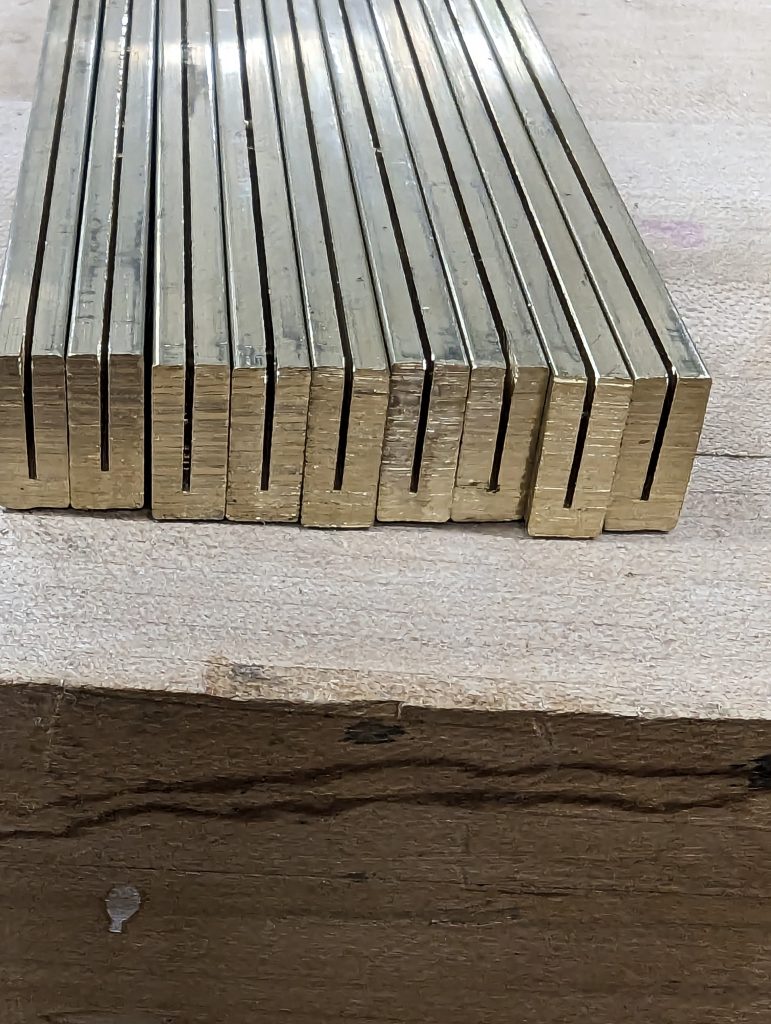
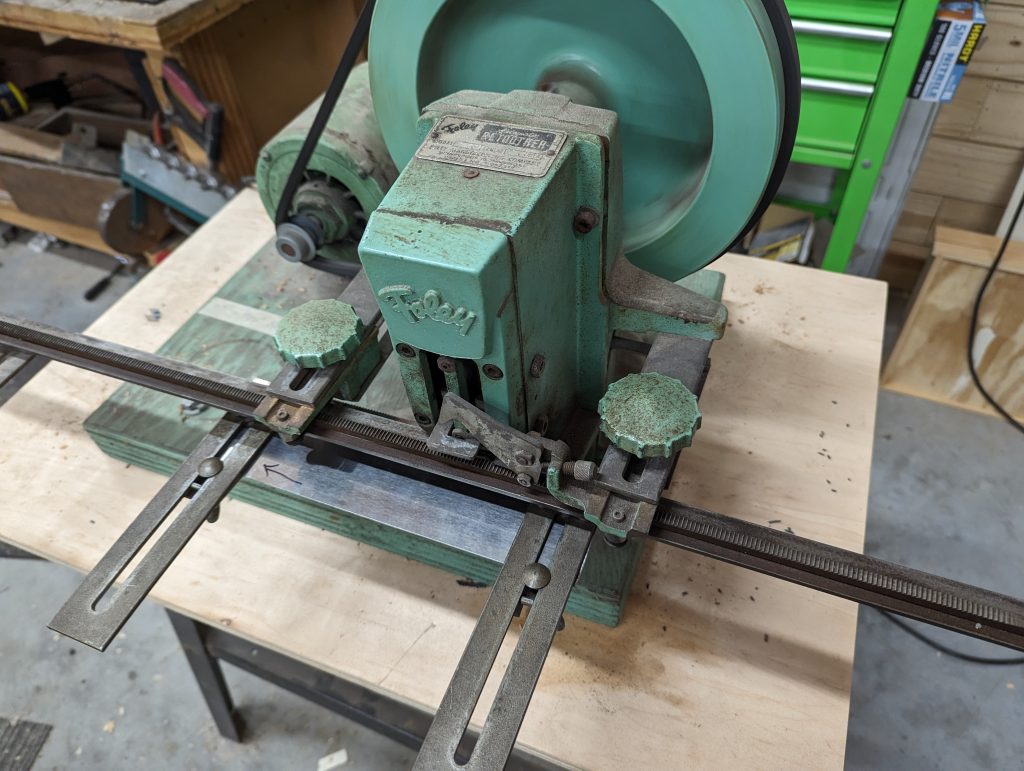
I cut a few plates on the Foley…
I love these machines. Simple and efficient. I’ve had people ask me if they warp the tooth line…. and the best answer is sometimes, but rarely. It does tend to bend the initial point of the plate but that’s usually simple to correct.
The steel is never flat and perfect. Cutting to length releases/adds tension that will need to be addressed. Punching the teeth adds more stress. Some builders remove defects after they install the back but I try to remove most before I install it. I find it easier but I can understand both sides.
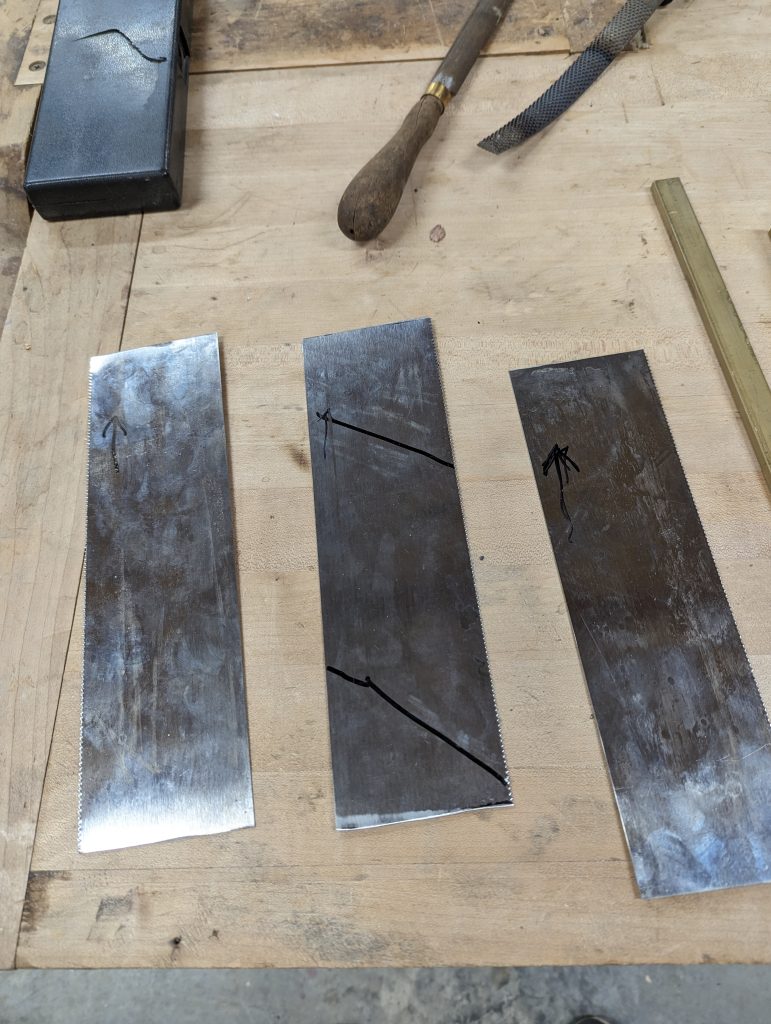
Twist is the most aggravating to deal with but I’ve got a method that has that issue mostly under control.
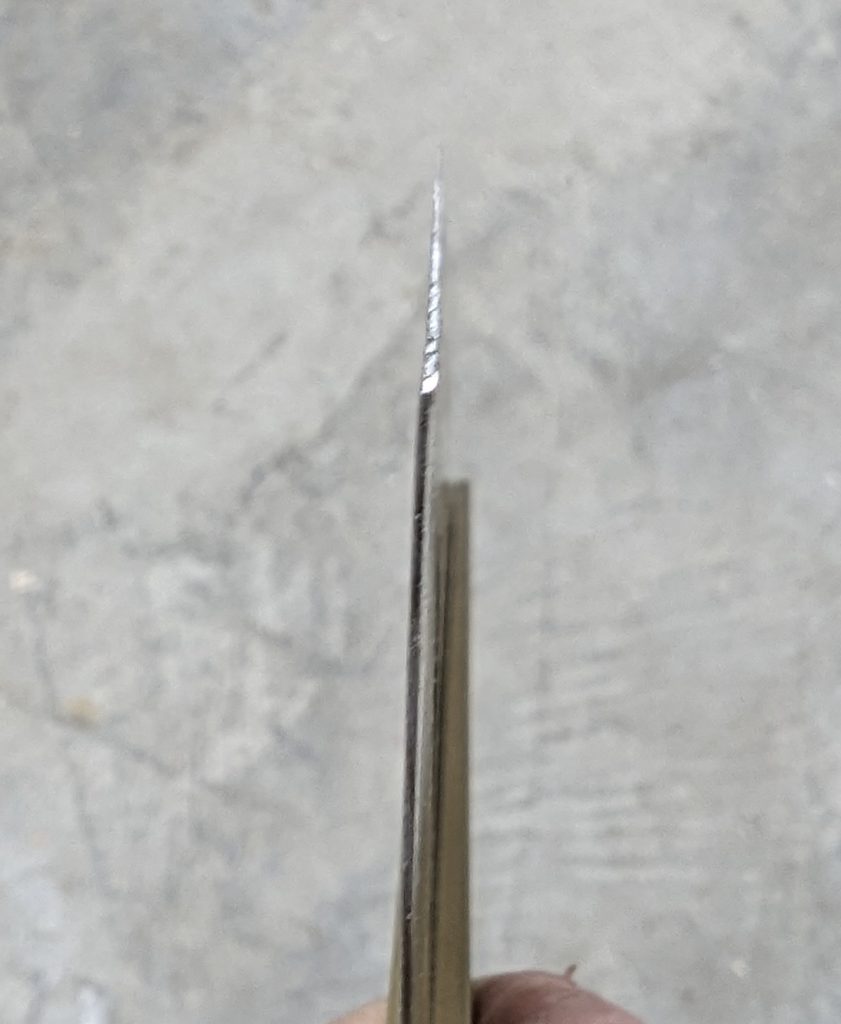
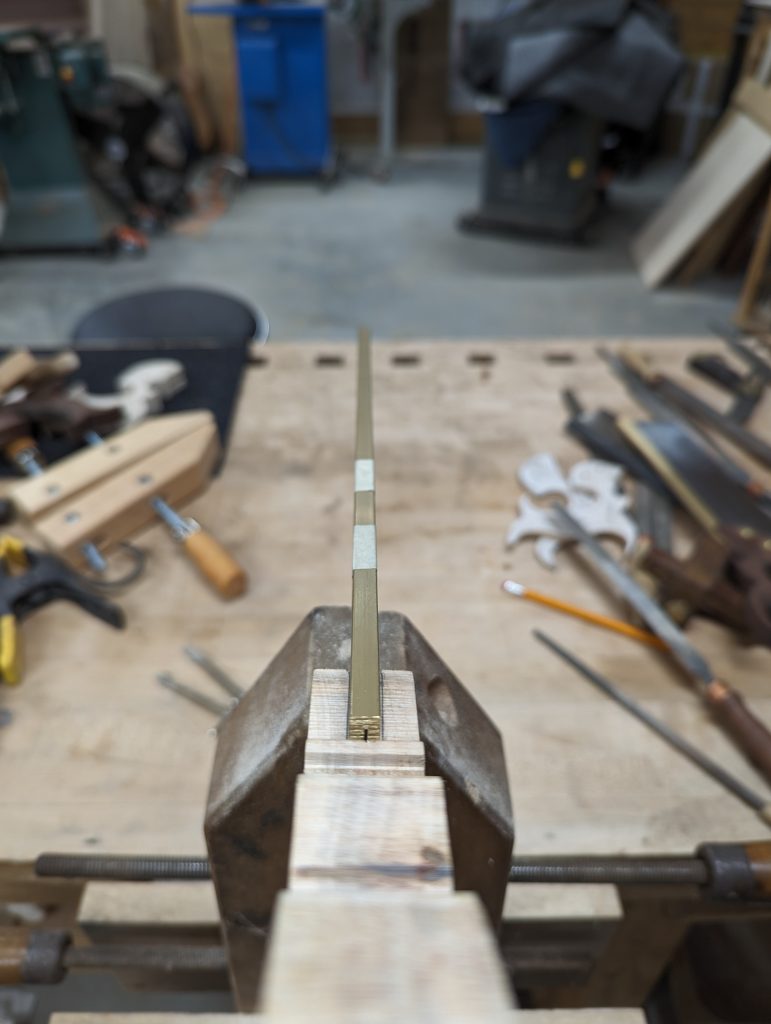
This .020 steel is resting in the .023 slot….with no (or at least minimal) tension on the plate. Laser straight… and no cupping or bowing.
Now on to the handle
I’ve already roughed it out. This is straight off the band saw. No need to do any other work to it yet because the next series of cuts can quickly ruin one in a hurry.
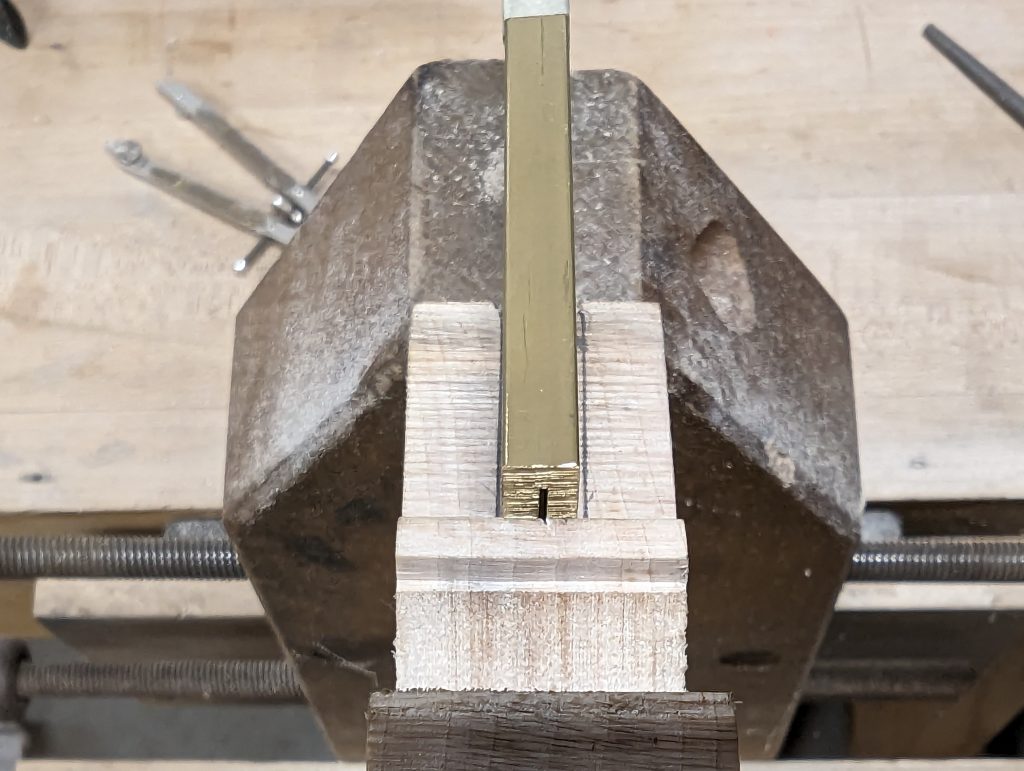
Mark the center line on the handle carefully. This cut has to be perfect. Any deviation will cause deflection in the plate that will be impossible to correct. The slitting saw is not accurate enough to cut the slot to full depth. I’ll make a shallow initial cut with the mill and then finish with a handsaw. I use a saw with the same plate thickness and I have also stoned off most of the set. It doesn’t cut very well without set but it gets the job done.
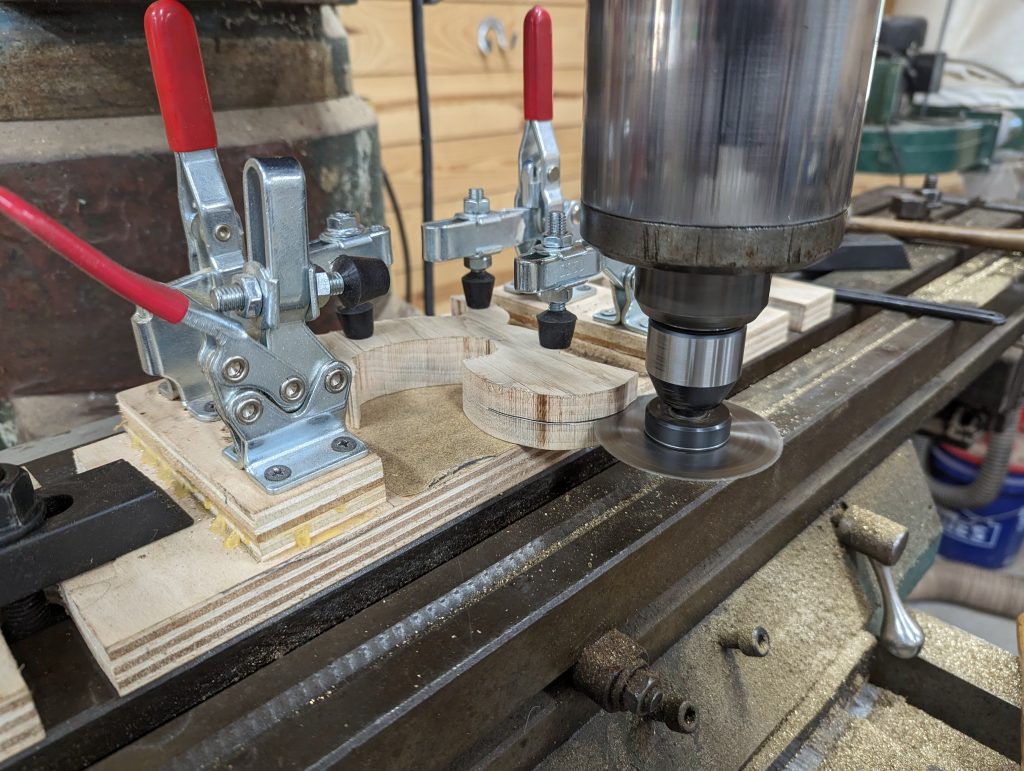
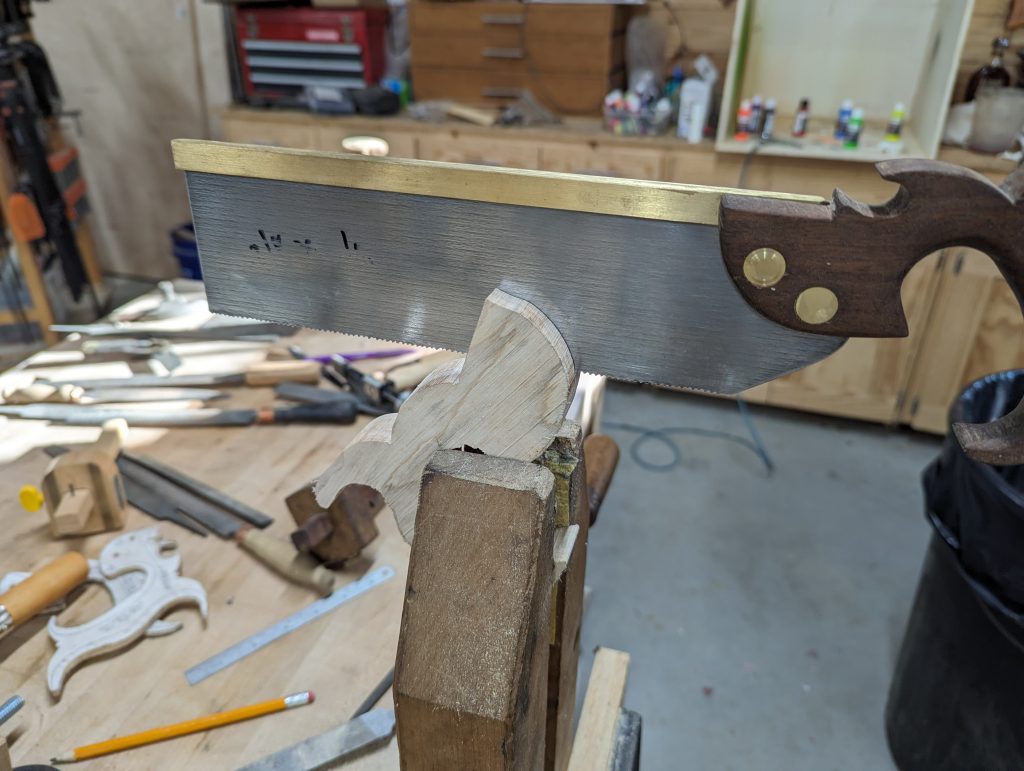
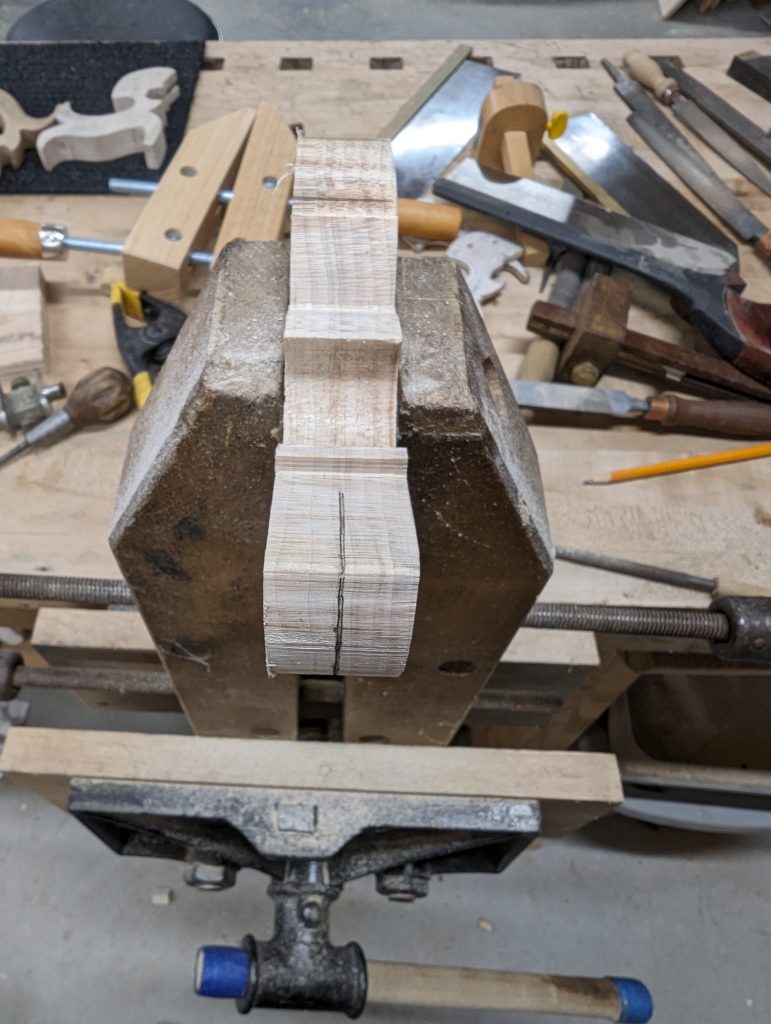
After this cut is completed I’ll mark the area for the spine. Again, this cut must be super accurate or it will impart deflection into the plate. I make this cut on the mill.
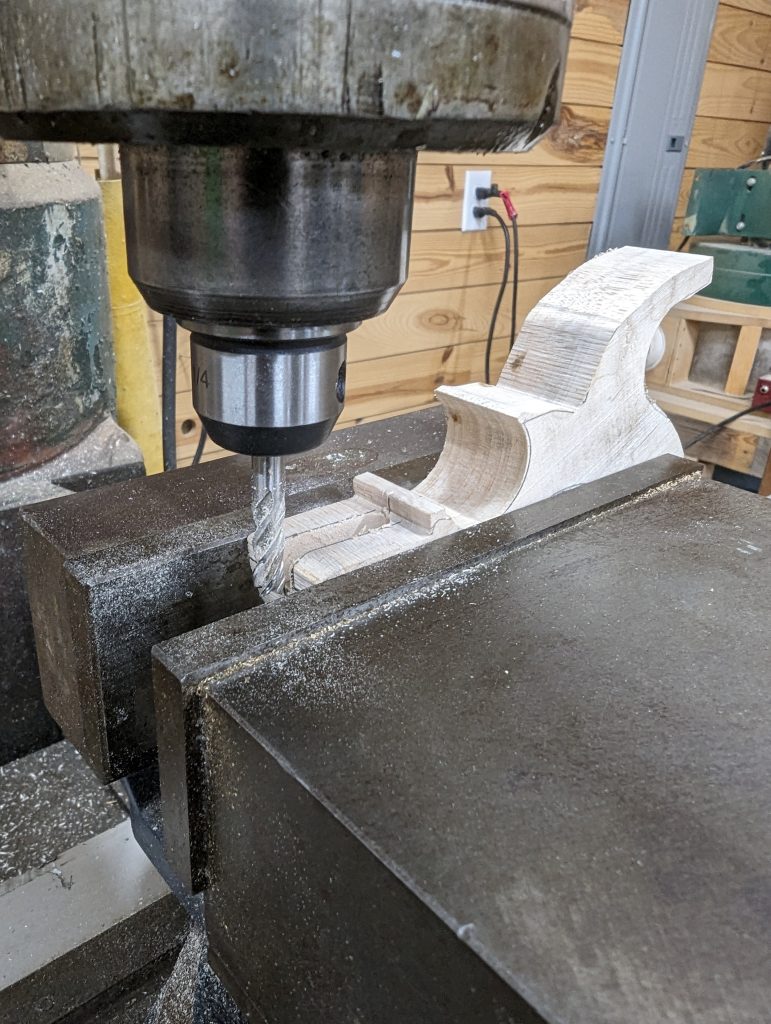
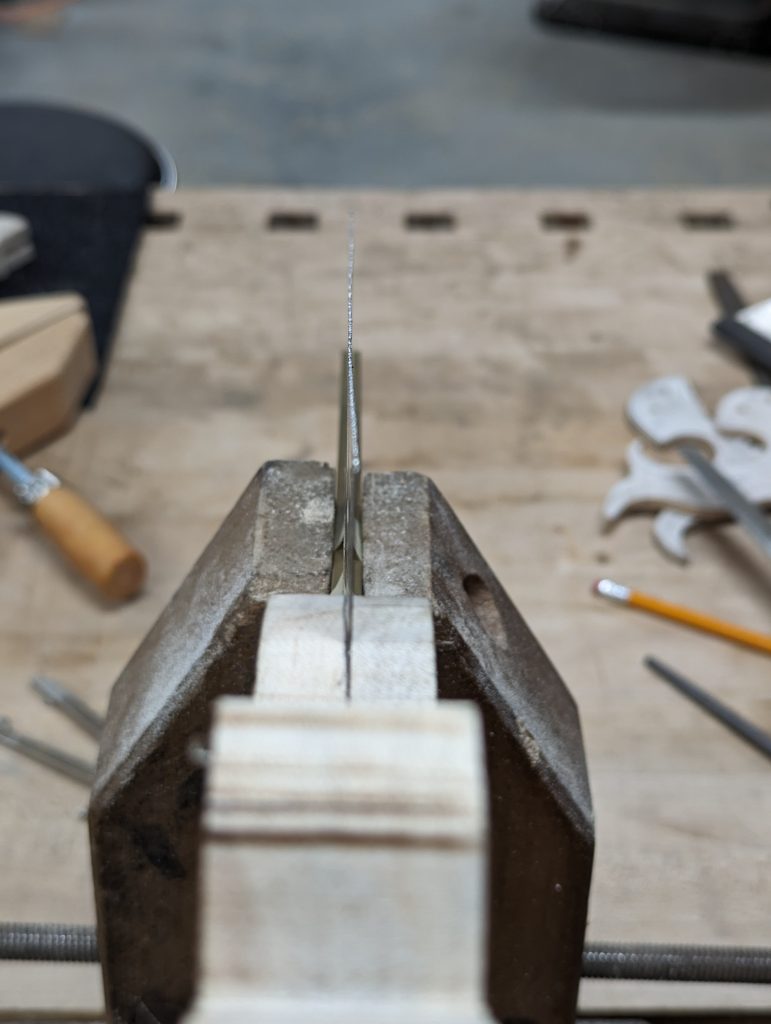
Success. The spine is dead straight and centered. The plate has a minor amount of curve. This is most likely due to a slight misalignment of the spine slot. I take extra care when reinstalling my vise on the mill to make sure that it is dead square with the quill. But a square cut doesn’t always align with the slot into the handle. If that is the issue it can be easily corrected by lightly shaving the offending side of the slot in the mill. This correction should not leave an unsightly gap.
Back to the handle
So after all that talk I had to toss that handle… my sawing was off in the center. I knew it felt a little tight when I slid in the plate. That was the reason for the slight curve in the plate. The end result was a bound plate that was never going to be perfectly centered or square to the handle so I tossed it.
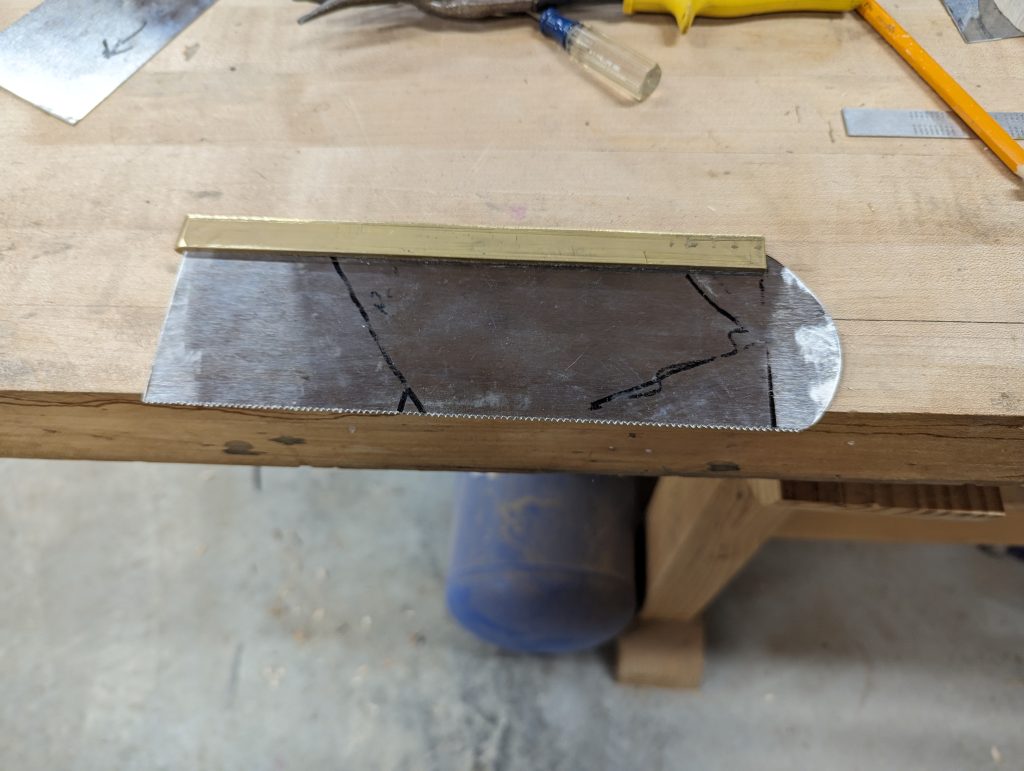
The new handle is perfect so I cut the spine to length, rough chamfered the top line and lightly pressed it onto the plate in the press. You can see the marks where I had to smith some issues with the plate. Make no mistake…you will have to smith the plate by hand. And it’s a pain until you figure it out. And then it’s still a pain.
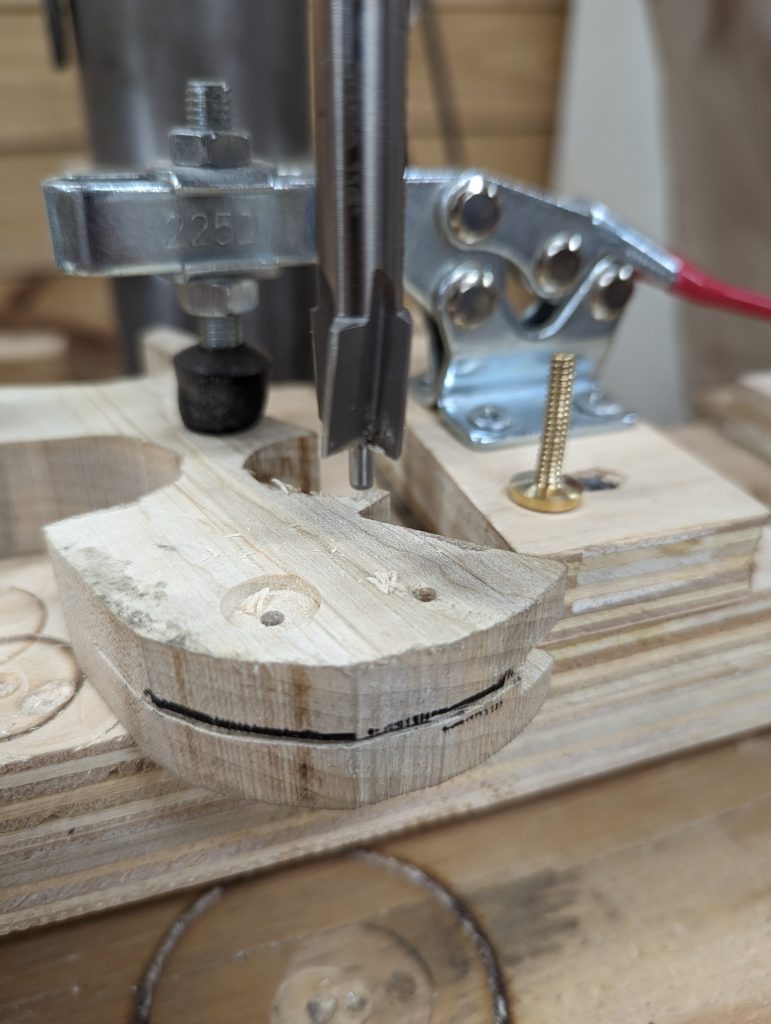
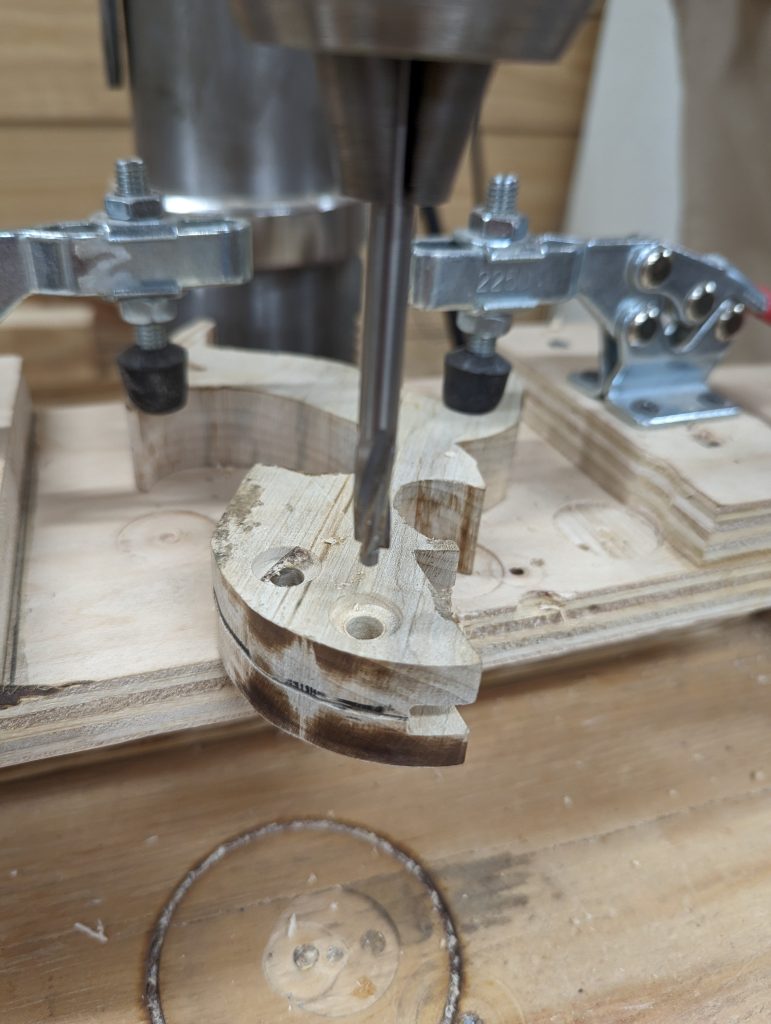
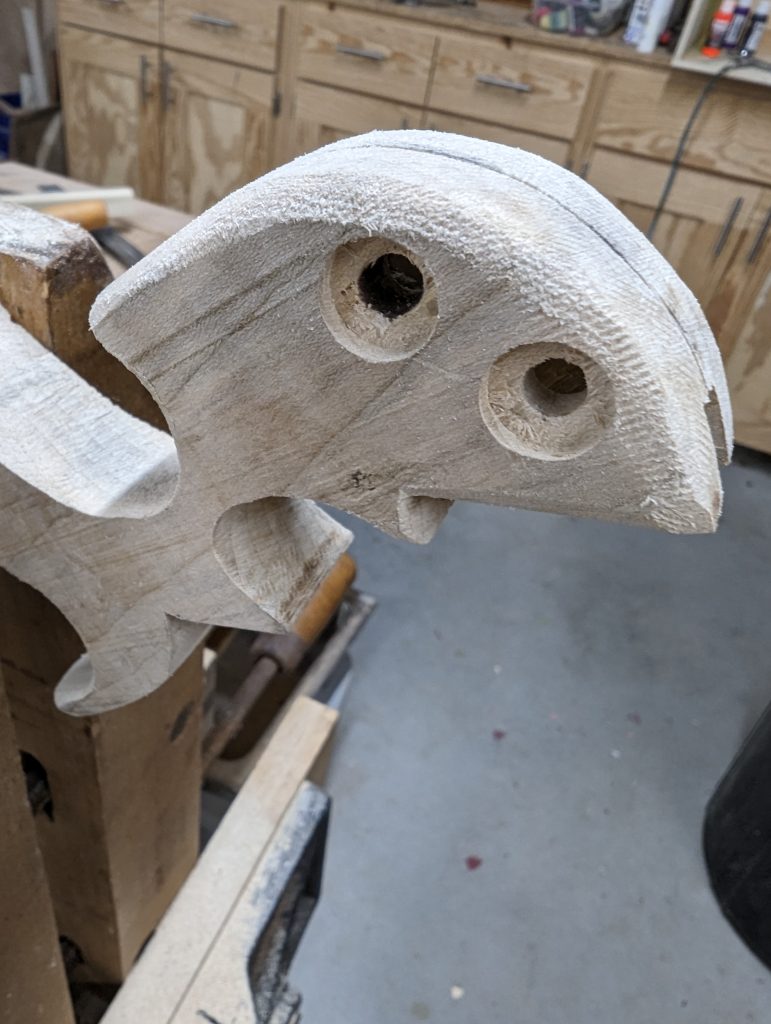
Next I drill the counterbores and holes for the nuts. I use pilot counterbores which makes quick work of it. My Nova DVR drill press makes it easy to bore to a consistent depth.
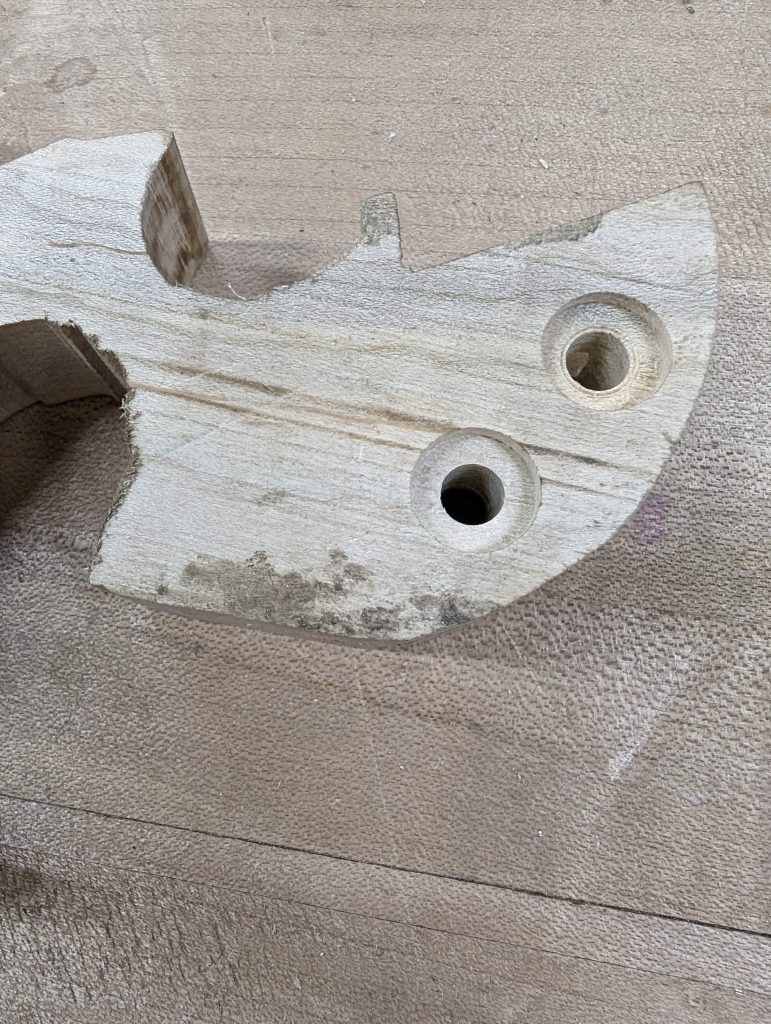
I fit the handle and carefully drill the holes in the plate. This guarantees a nice fit.
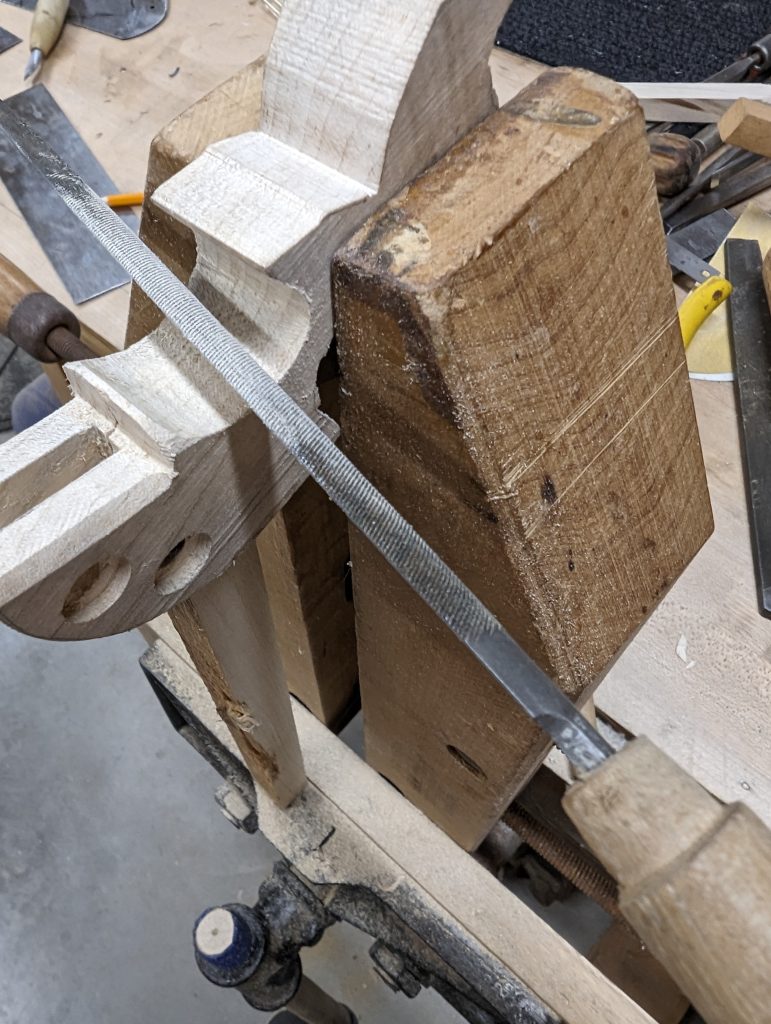
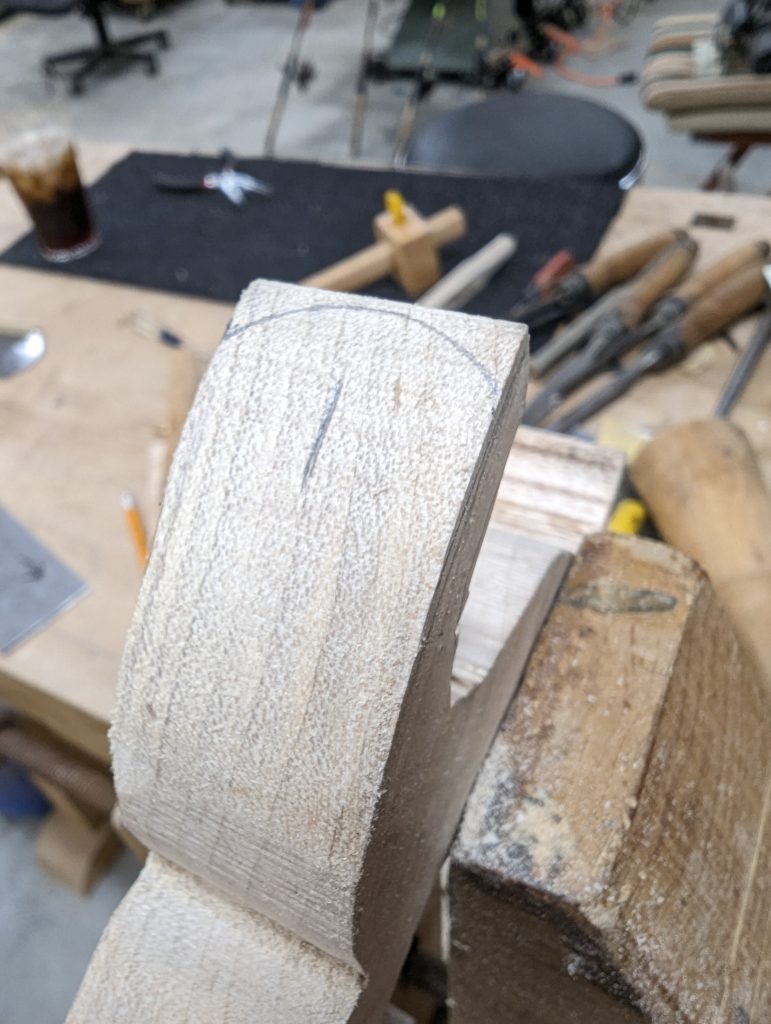
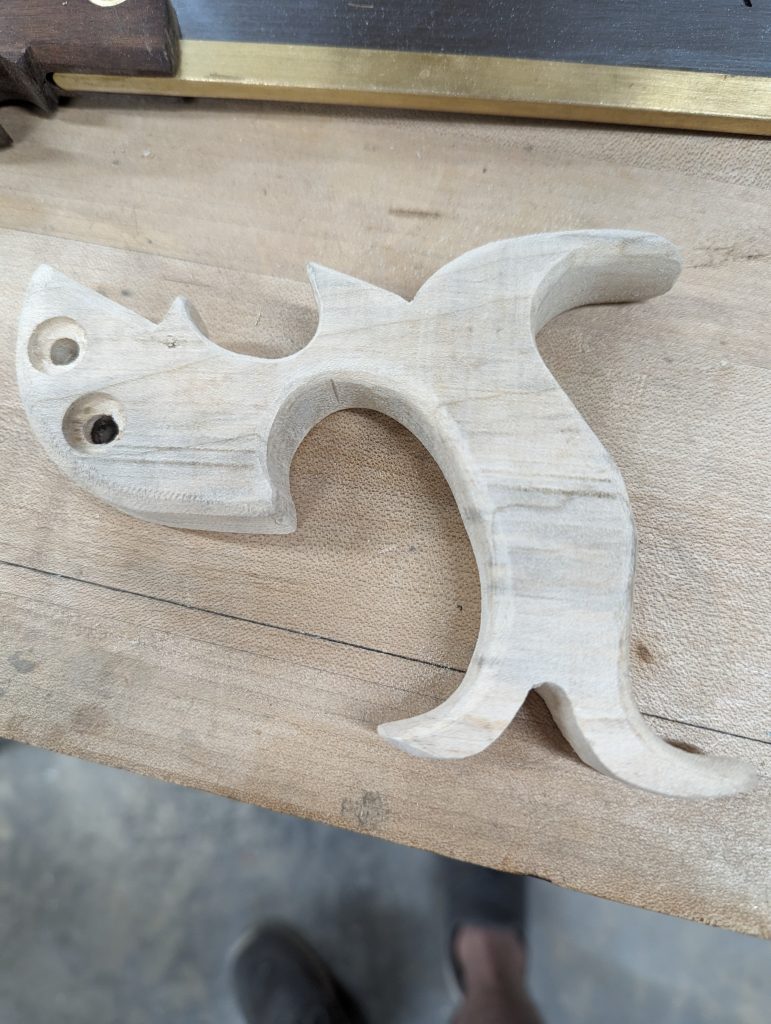
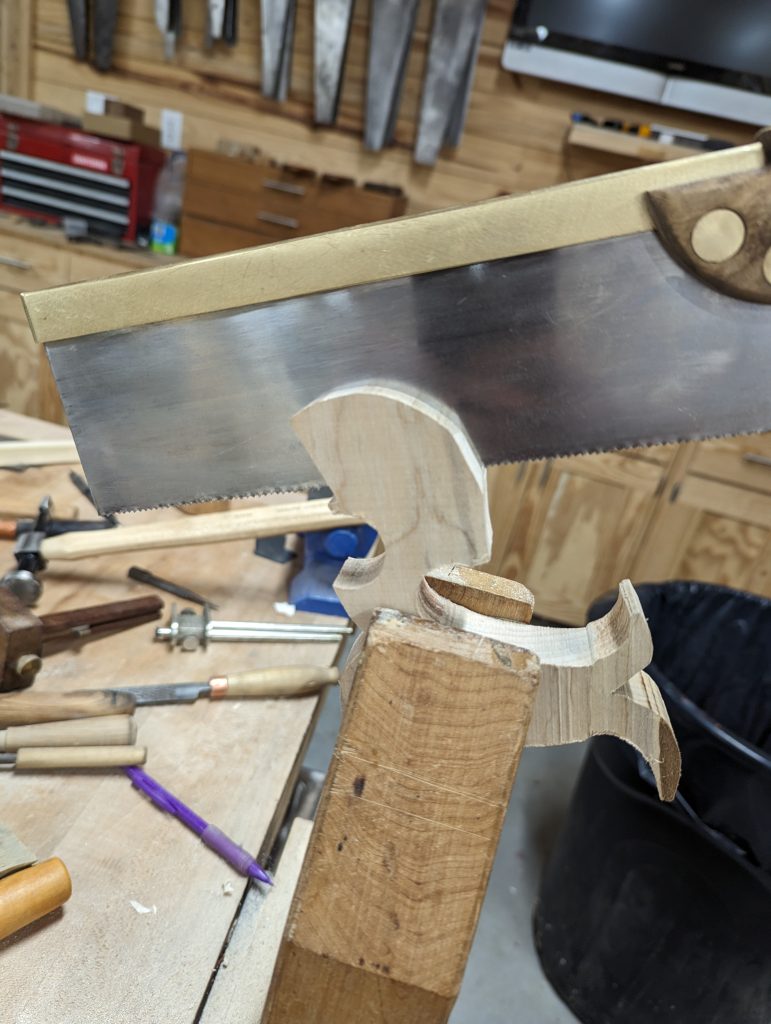
I don’t like this handle style and I’m going to modify it to fit my eye. I like the look of a rounded plate. I can make it either way but since this one is for me I rounded it over.
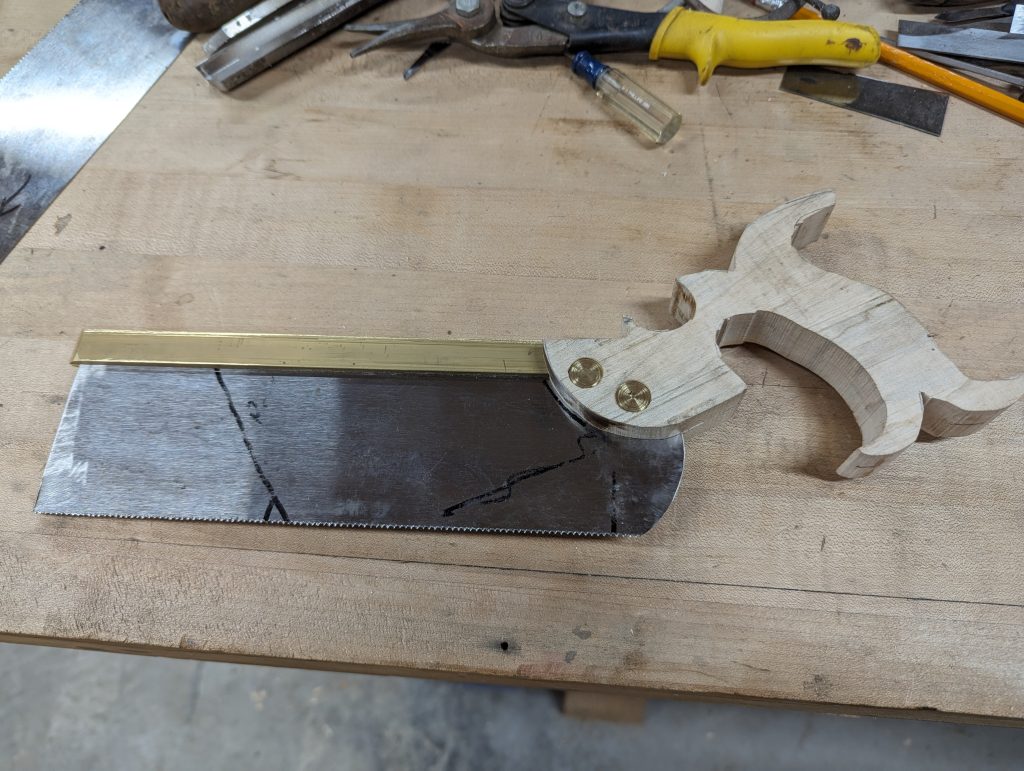
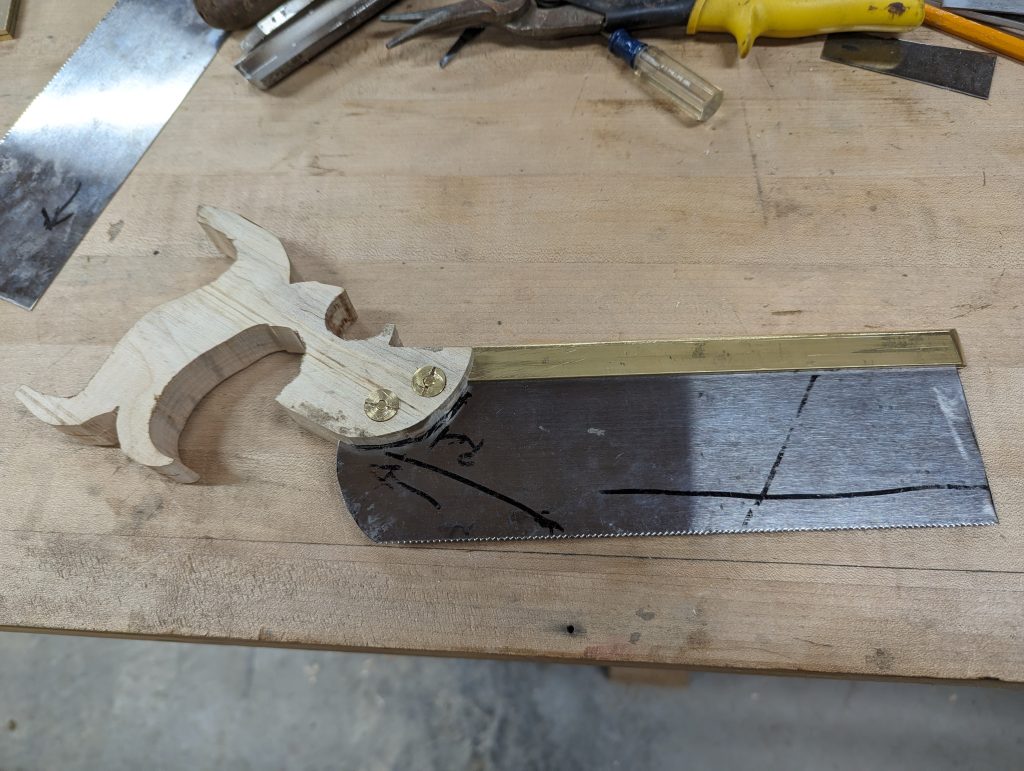
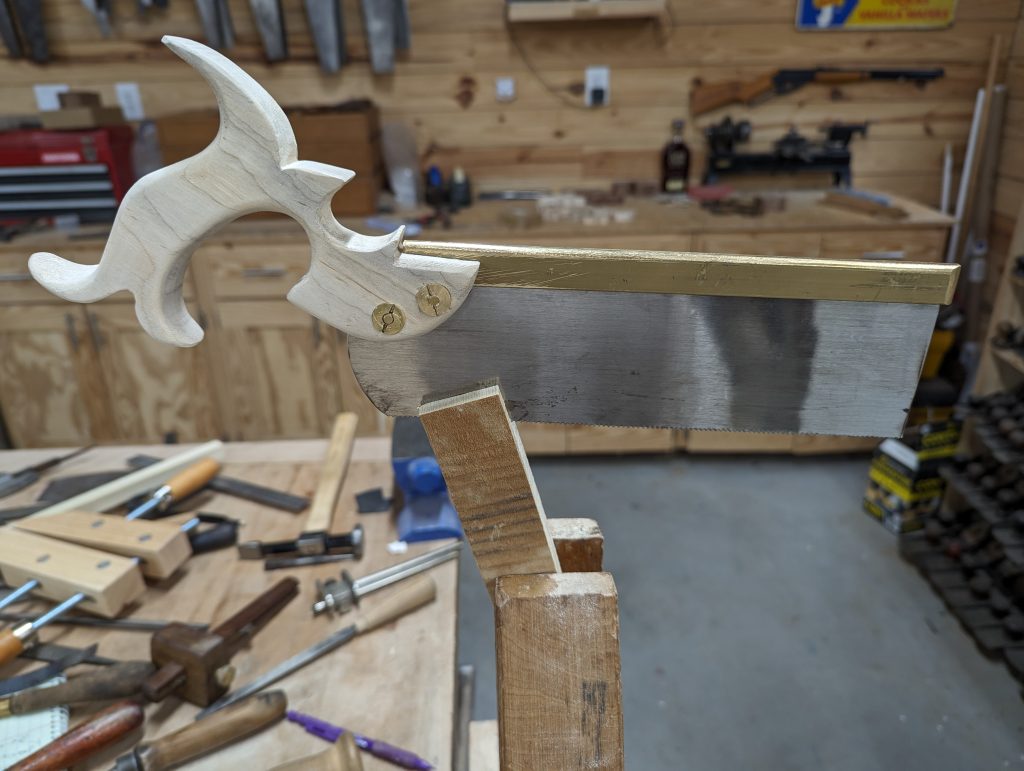
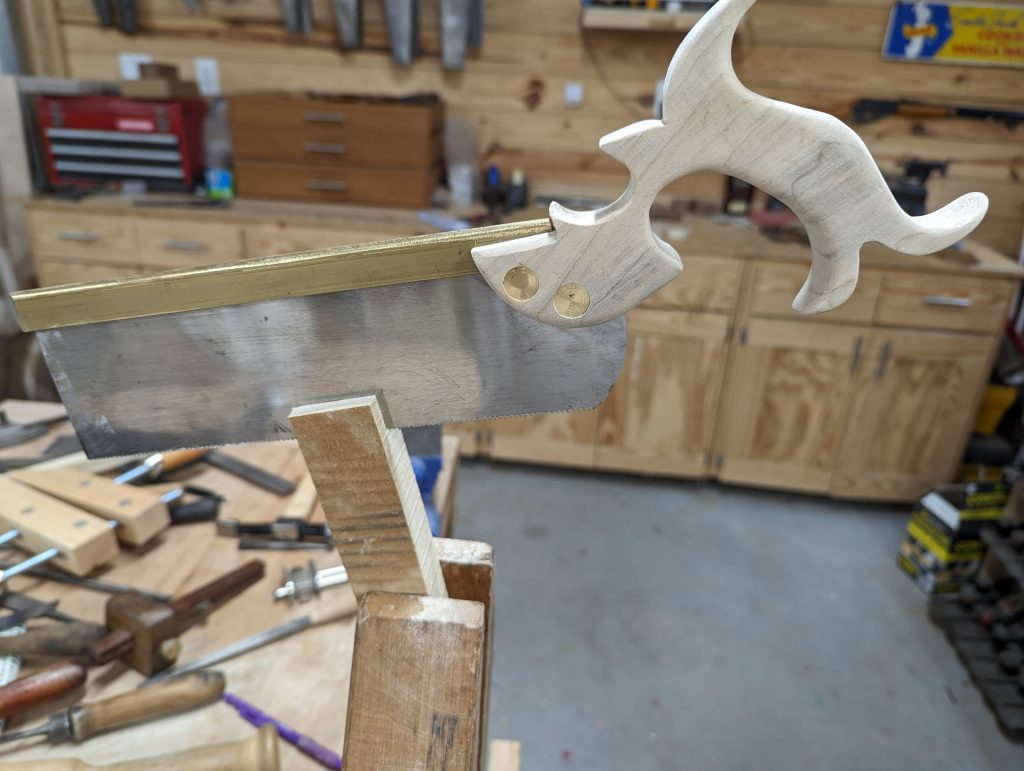
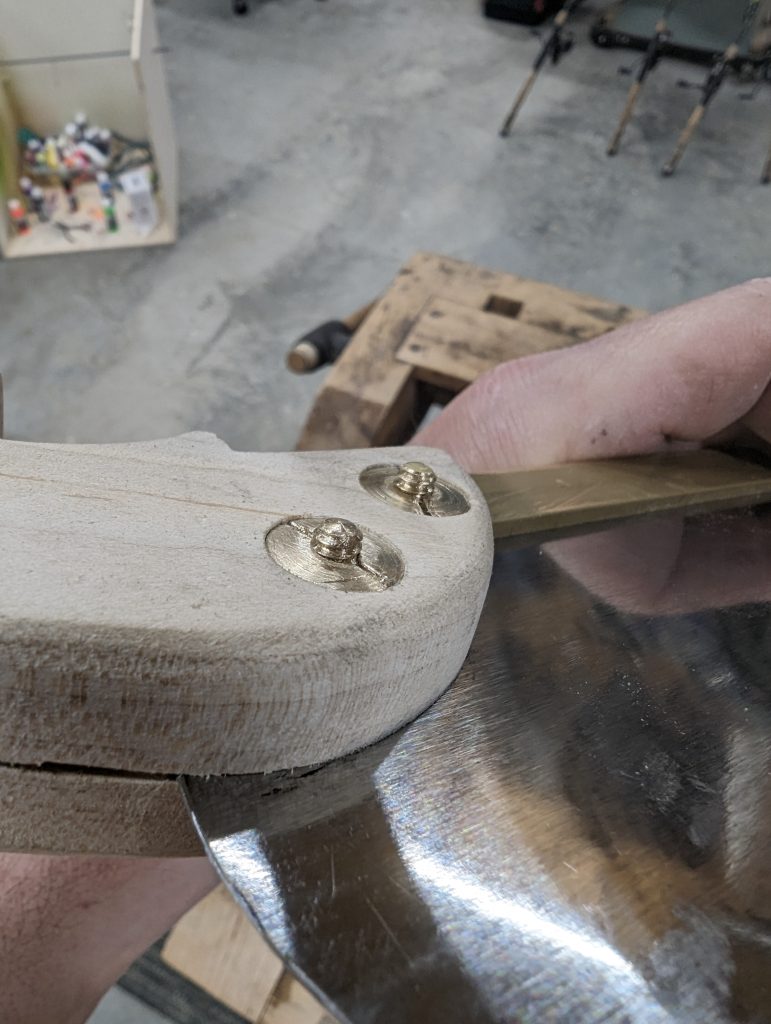
Here it is .. all the hard work is done. Shape the handle, finish the detail work on the spine and sharpen. These saw nuts don’t fit but they’re all I had on hand. I’ll turn some this week.
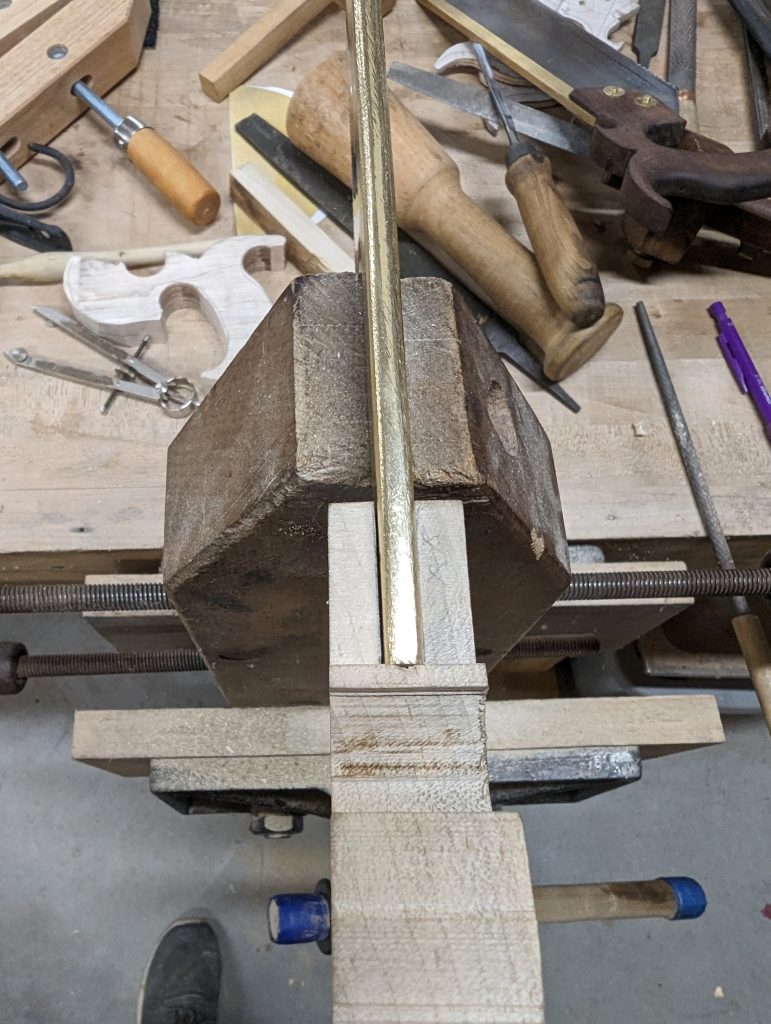

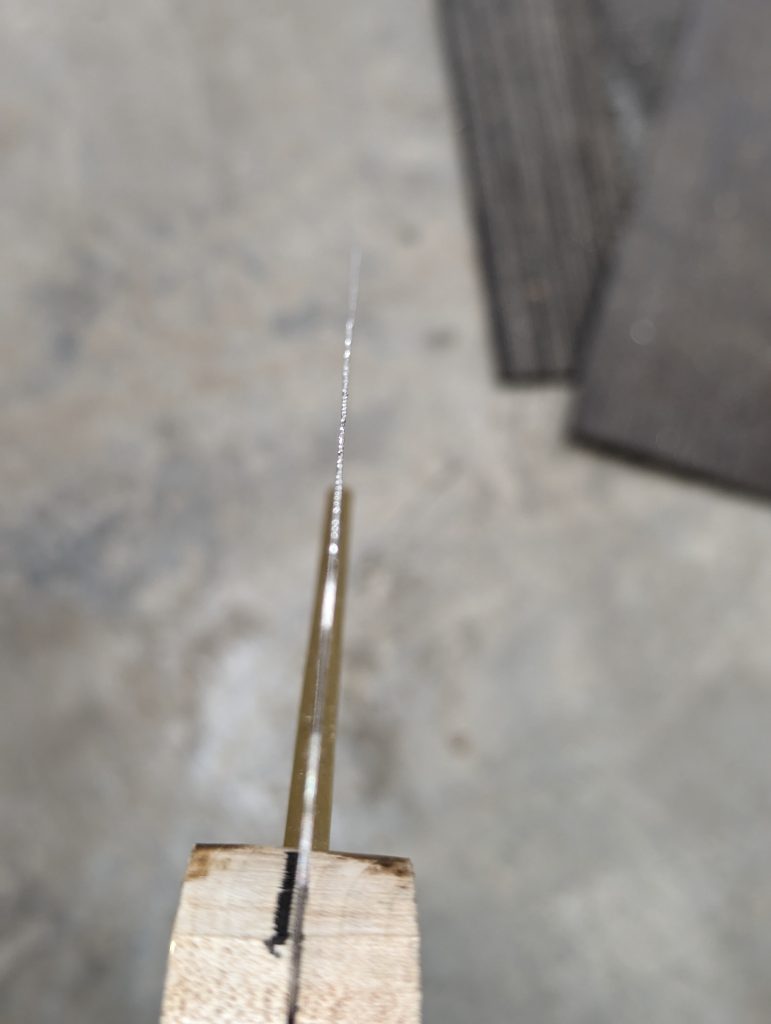
It’s hard to see in pictures as it looks distorted but both the plate and tooth line are straight.
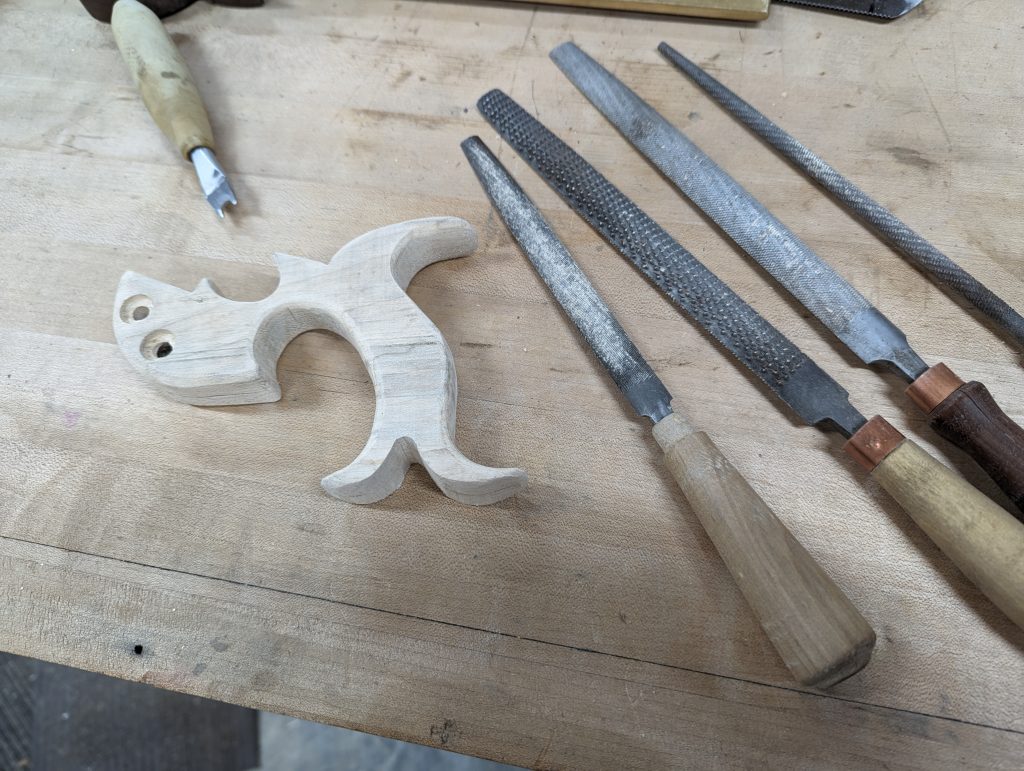
Rough shaped the handle. I just don’t like this profile and the more I tinker with it the less I like it. I need to find something different.
This was a test blank to start with so there were plenty of wayward band saw cuts… That explains the hideous gap between the lower horns.
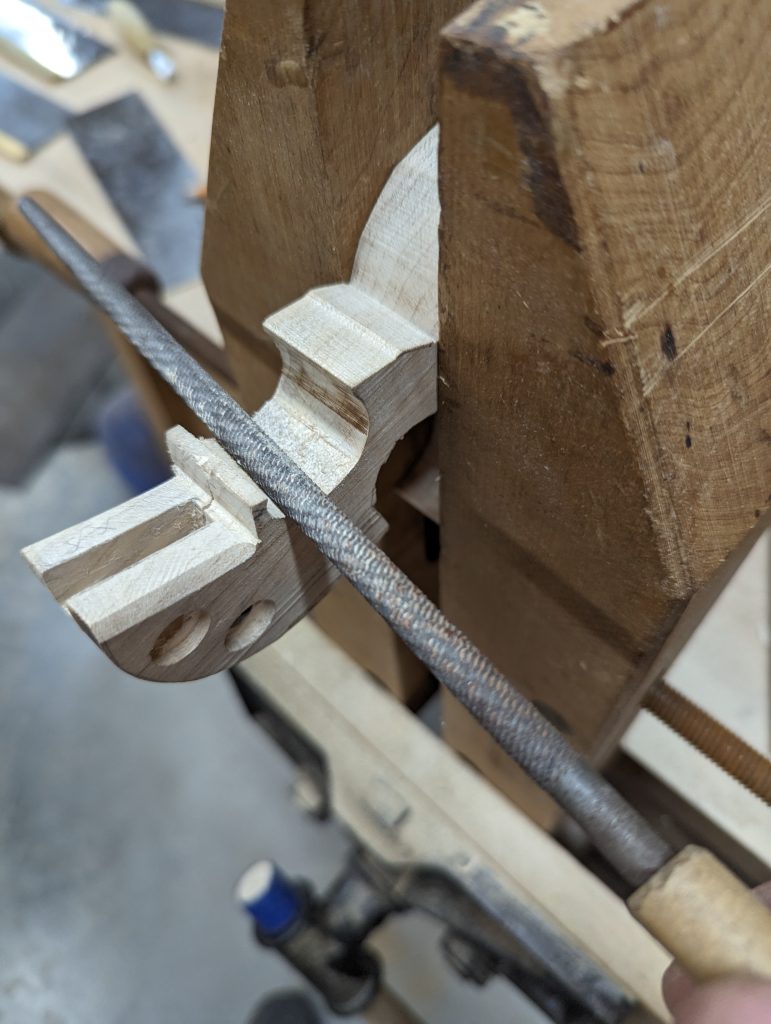
I’m done with the rough tools and I’ll break out the fine Japanese detail files to finish it out.
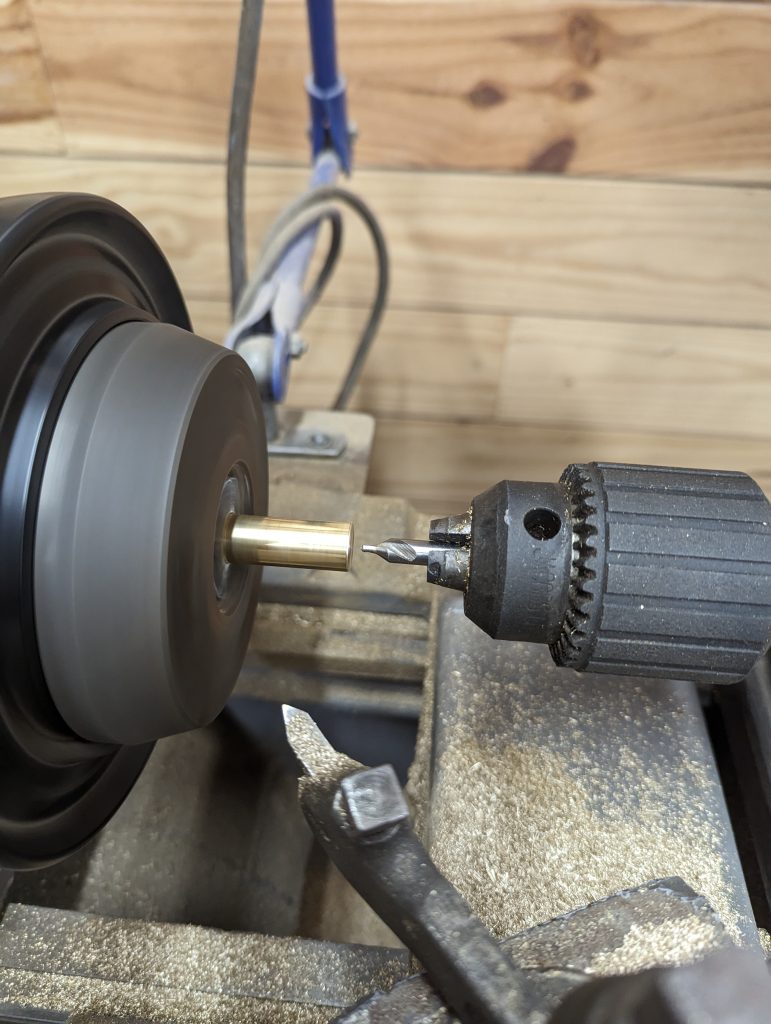
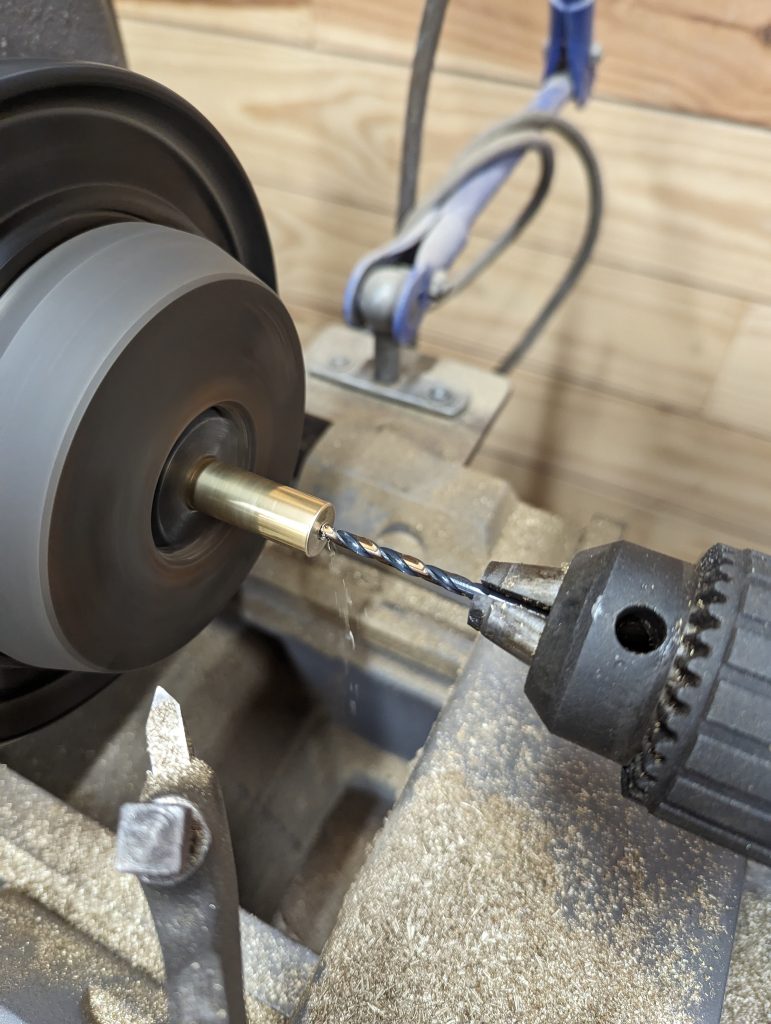
Turning saw nuts
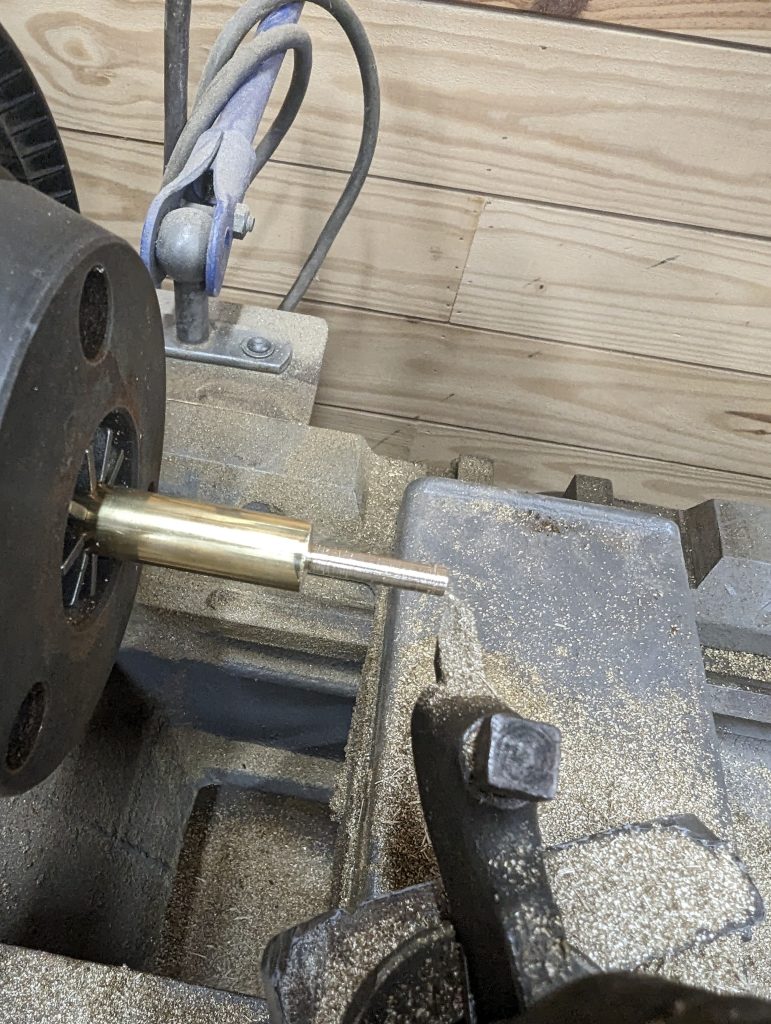
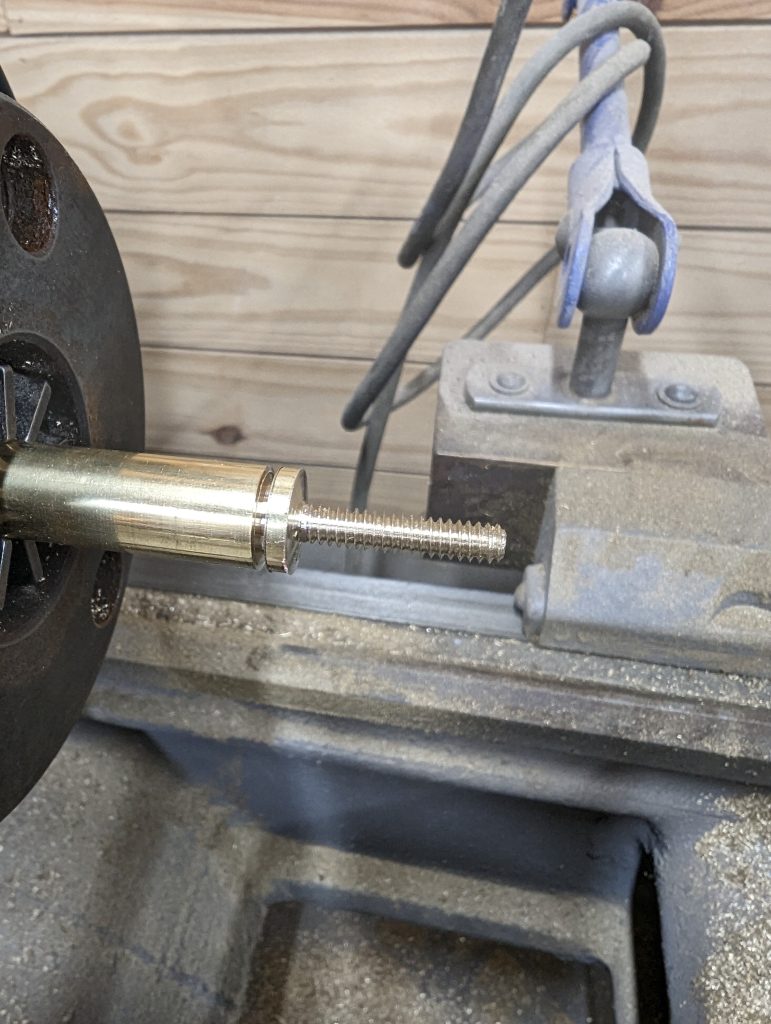
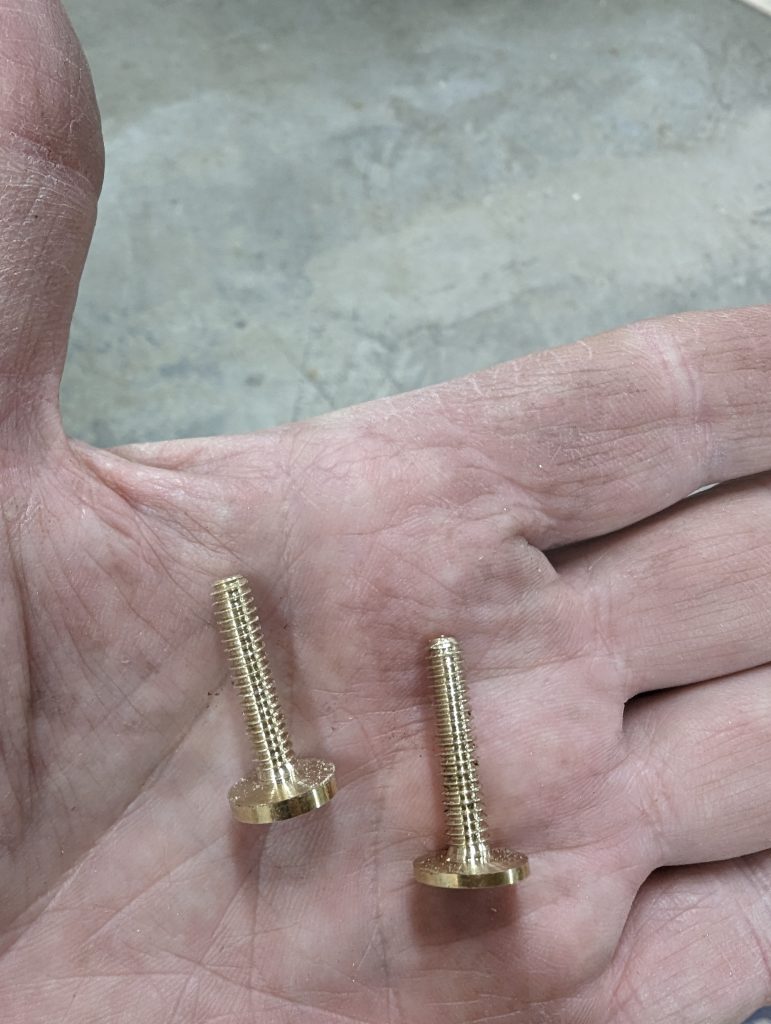
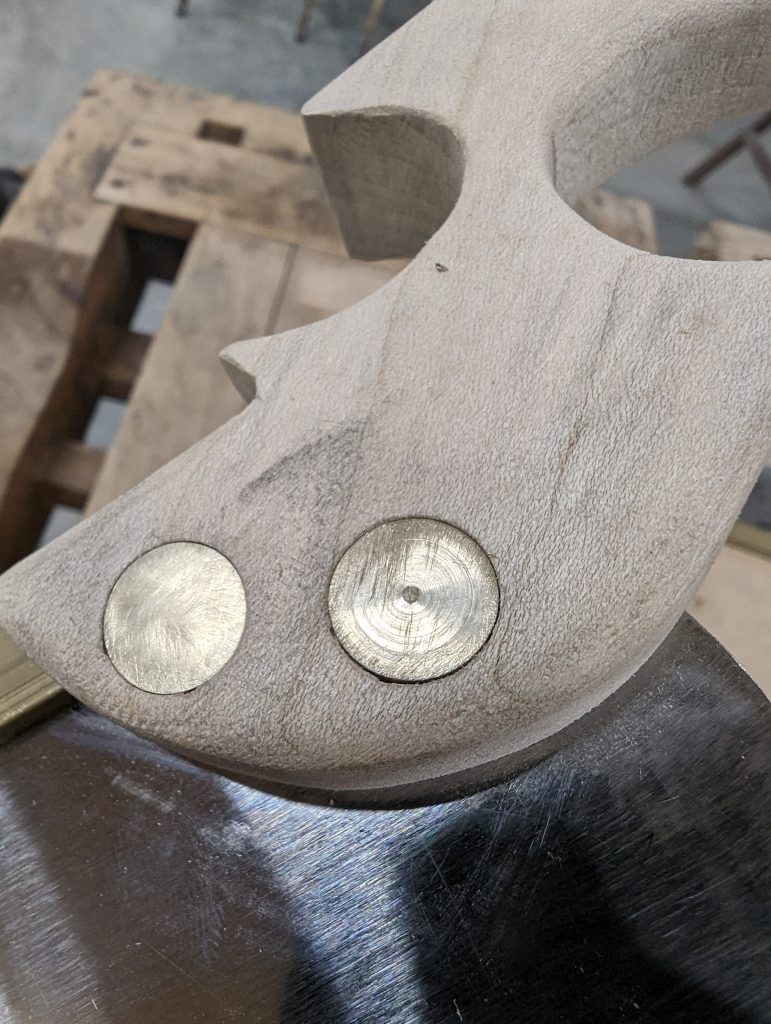
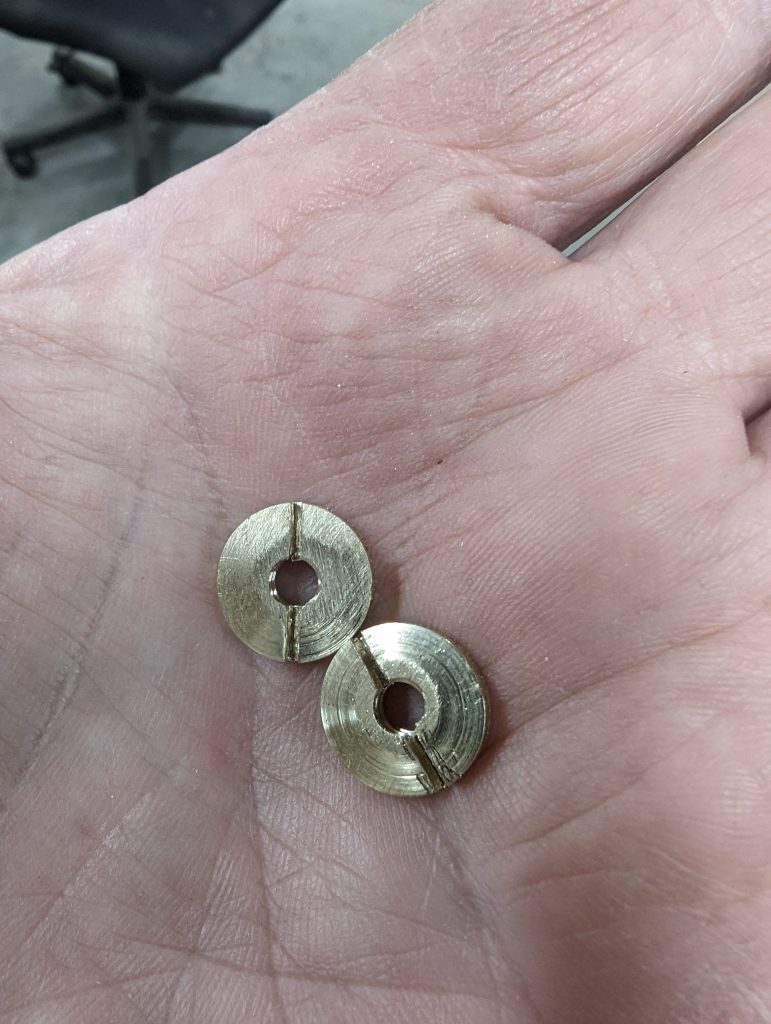
The split nuts
I cut the slots on these with a hacksaw. I have a jig to cut them on the mill …. Results in a much cleaner and defined slot. But I don’t have the mill set up for that operation and I didn’t want to change it right now.
But for a coat of shellac… Finished.
sharpened and set it
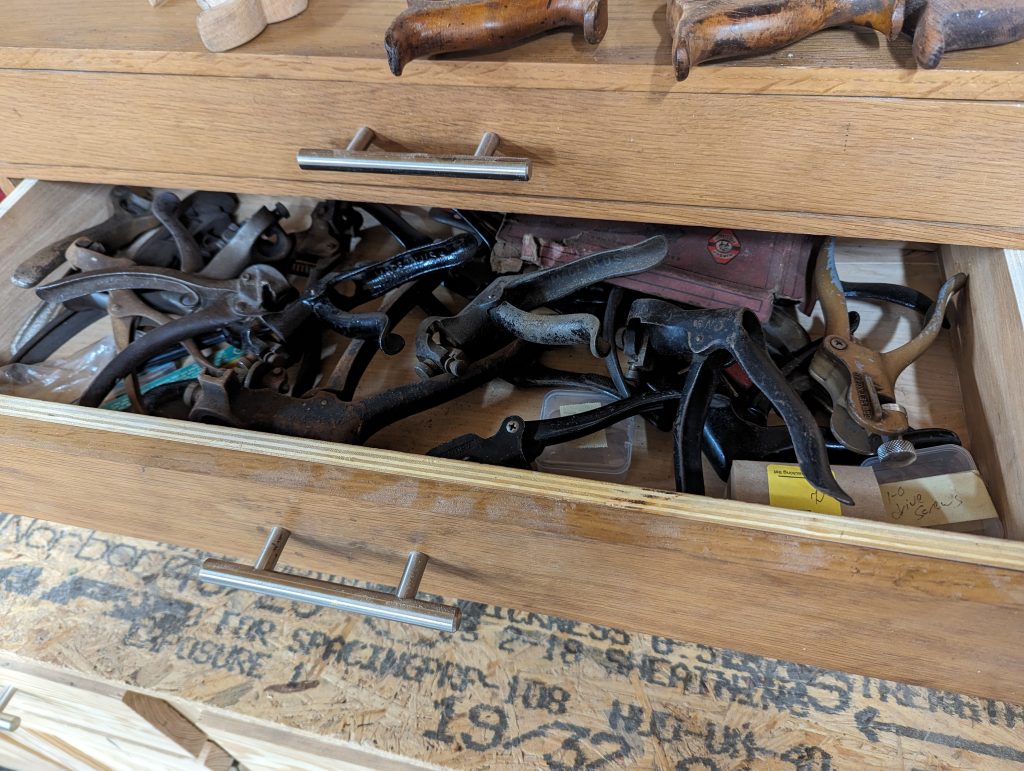
Then fought it for an hour. I set it three times before finally changing saw sets and solving the issue. The offending set was a recently acquired 42x that I hadn’t fettled. Not sure what the issue is but I’ll sort it out. I just grabbed another one from the drawer…
Making a Medallion
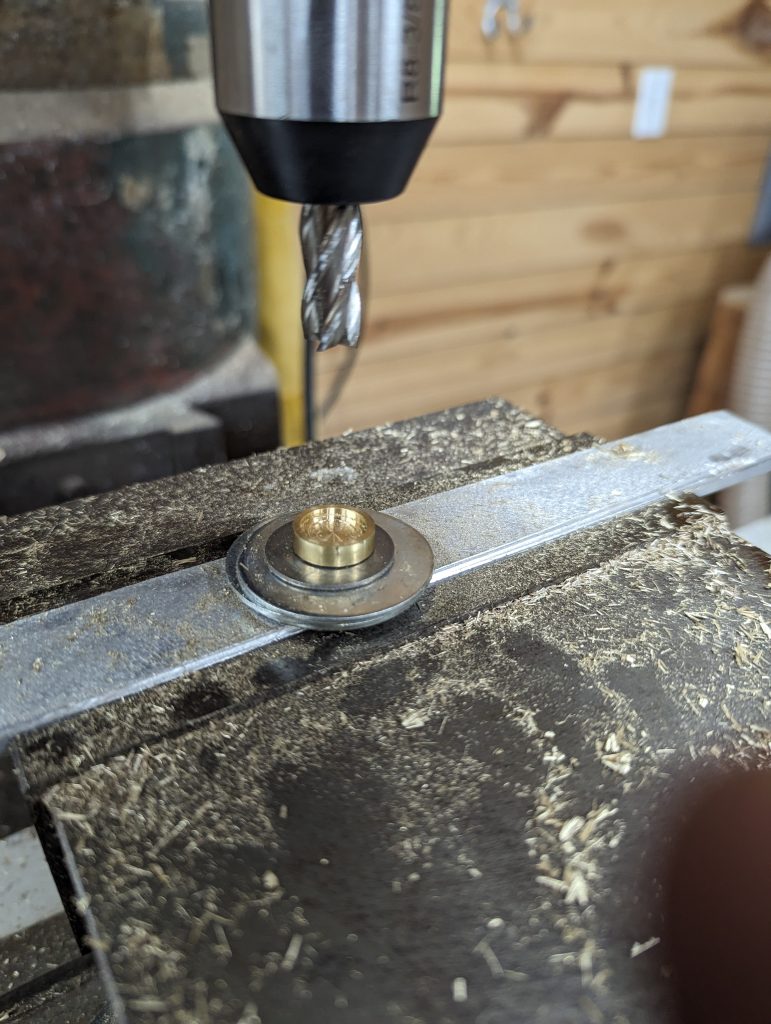
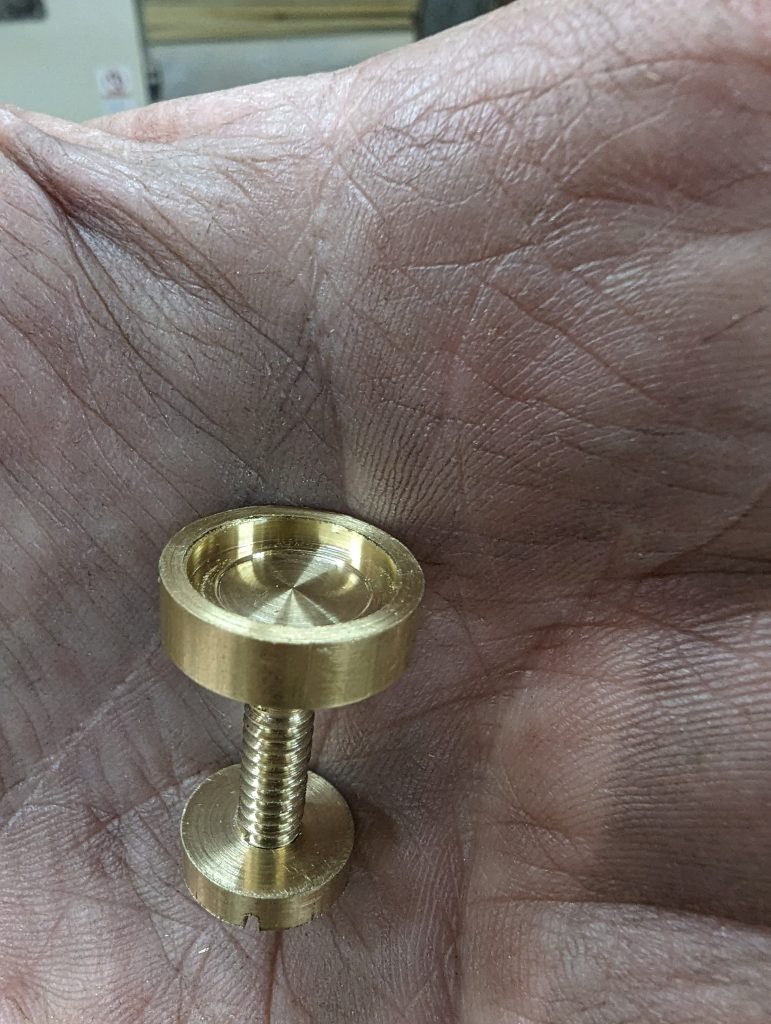
The made the first medallion today. These are 5/8ths stock but I may go to 3/4… Or do both. We’ll see. I need to figure my logo out and order my stamps.
I turned the bolt on the lathe and threaded it. Then I drilled and tapped a hole in the aluminum bar stock. I shimmed the head to be certain the mill would apply even pressure. Flat cutting end mill and Bob’s your uncle ..
I rough cut a few blanks using a downloaded template. I didn’t like the look and started messing around with a few changes. That area was cut in such a way that there isn’t much room to modify it and leave it thick enough to sustain long term abuse. That’ll change in the final version.
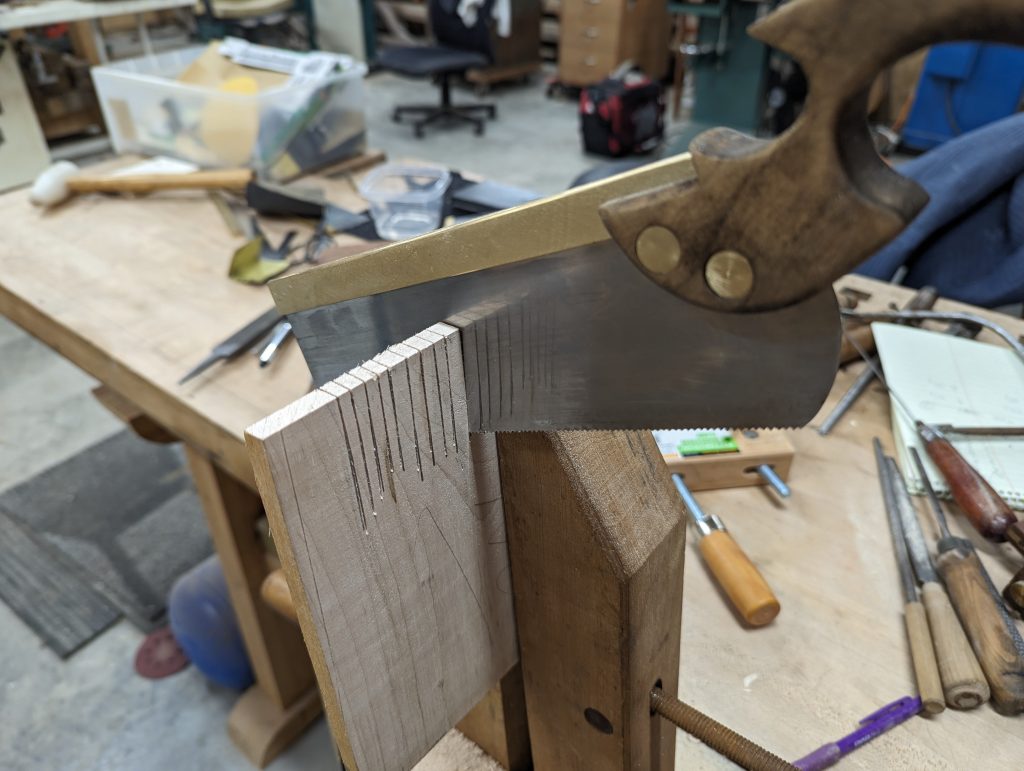
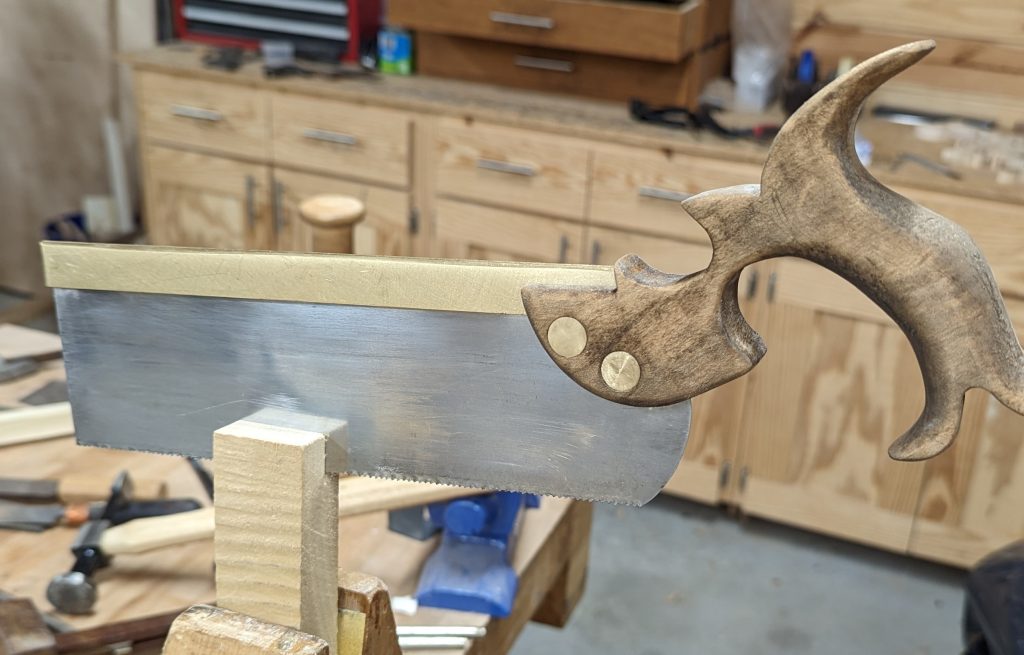
This was a purpose built saw… to replace the saw I’m using to cut the plate slot. If you’ll notice the handle angle is set higher to give me a like more clearance on the bottom…. so I can see the tooth line a little better when cutting.
Join the discussion: https://ncwoodworker.net/forums/index.php?threads/dovetail-saws.79355/
